In the second part of this guide I’ll be showing you how to take the designs you created previously in Sketch, and setting them up as functioning prototypes within Marvel.
Marvel is a great application for quickly creating functional prototypes, and syncs wonderfully with Sketch via it’s own Plugin, which we’ll get to shortly.
There are a slew of similar applications out there (and I have bounced between a few) with more advanced features. But Marvel is still a powerful little tool in it’s own right (with more features being added on a regular basis), and comes highly recommended*.
*And has some gorgeous illustrations throughout! Puts a smile on my face every time I use the app :)
Let’s get to it…
Sign Up to Marvel
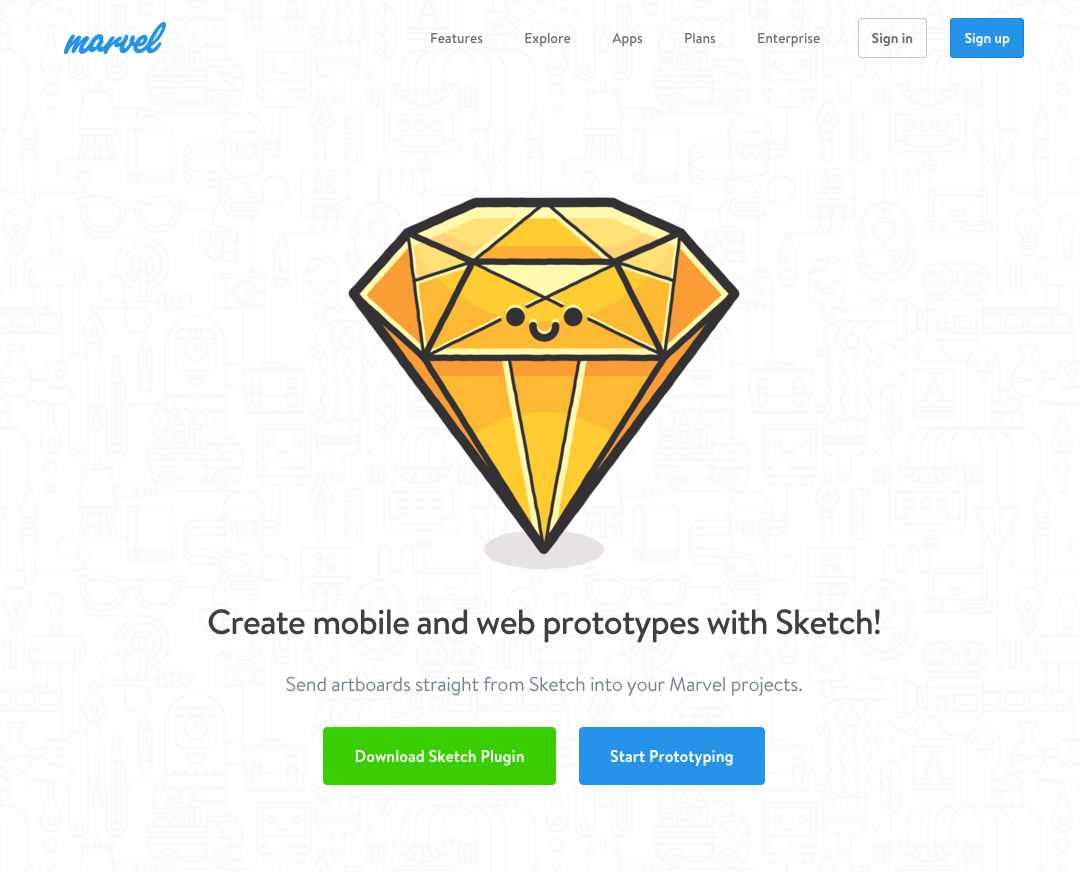
Jump on across to Marvel App. and sign up for a new account (They have a free plan to begin with).
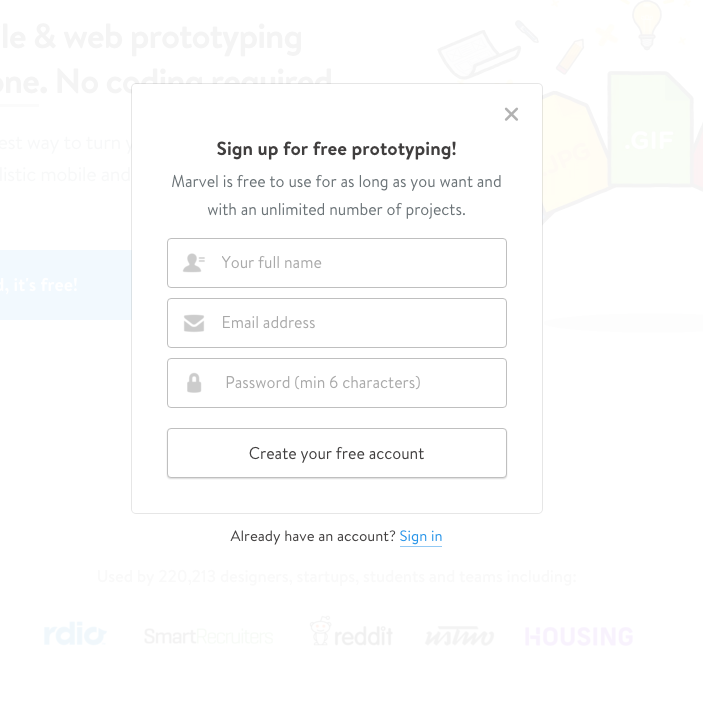
Cool. Now you’re all signed up for a Free account with Marvel.
In this guide, I will be skimming over quite a few features inside of Marvel, but giving you enough knowledge to feel comfortable using the application on your next try.
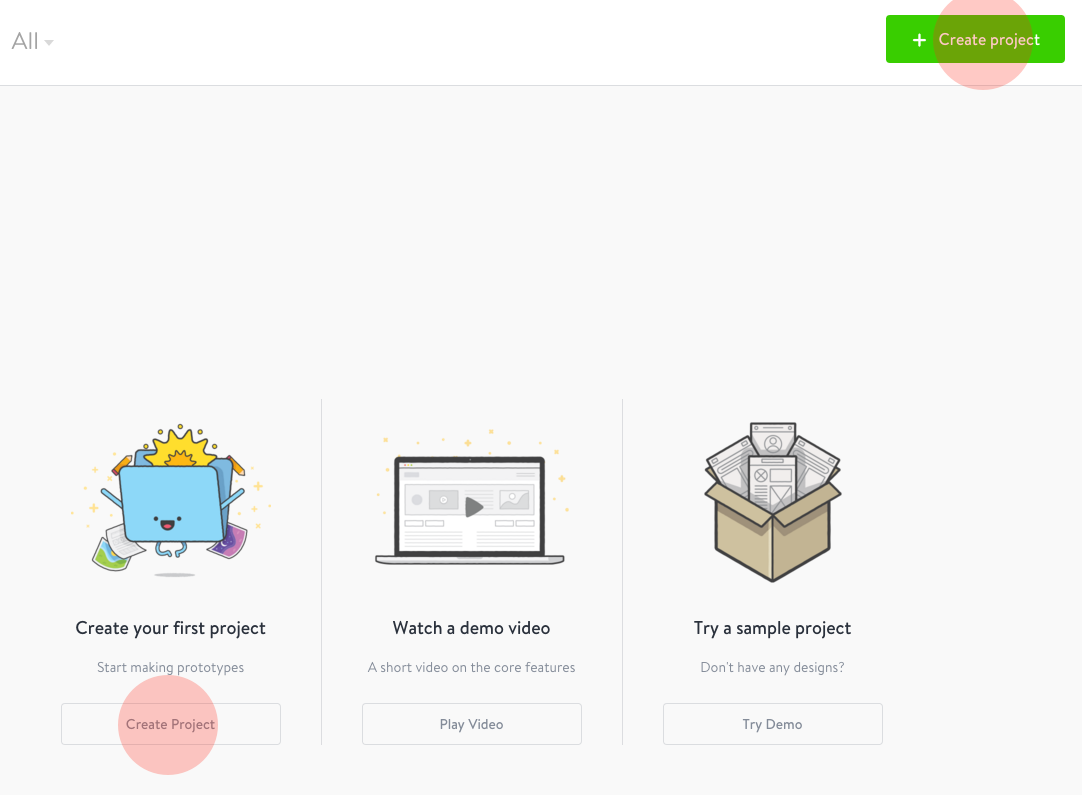
Let’s go ahead and create our first project…
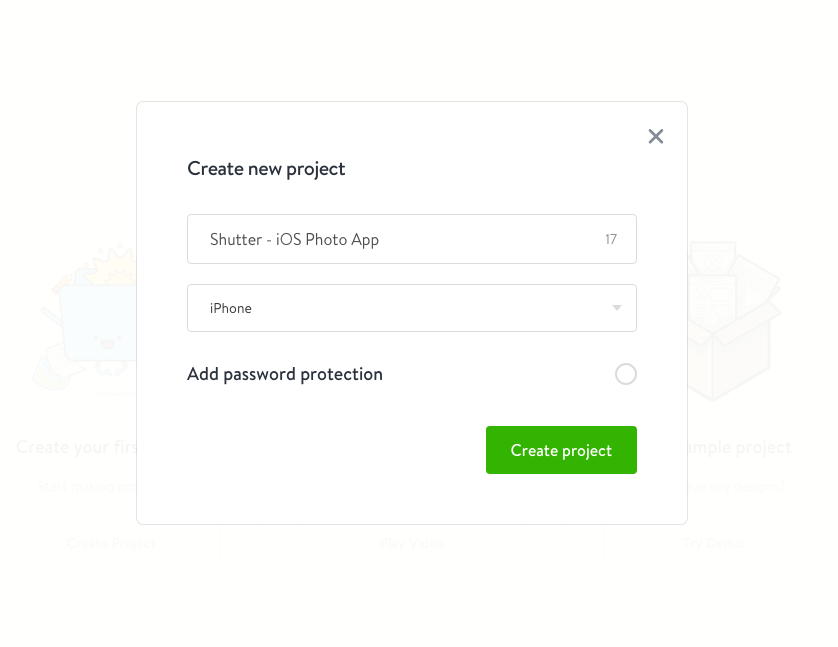
Give your new project a name. Something like ‘Shutter iOS Photo App’ would make sense don’t you think?
And for the device we’re prototyping for, choose iPhone.
Click ‘Create project’. Boom!
Let’s Install the Sketch Plugin
From the next screen, we need to go ahead and download the Sketch plugin, so we can send our Artboards directly to Marvel, from within Sketch.
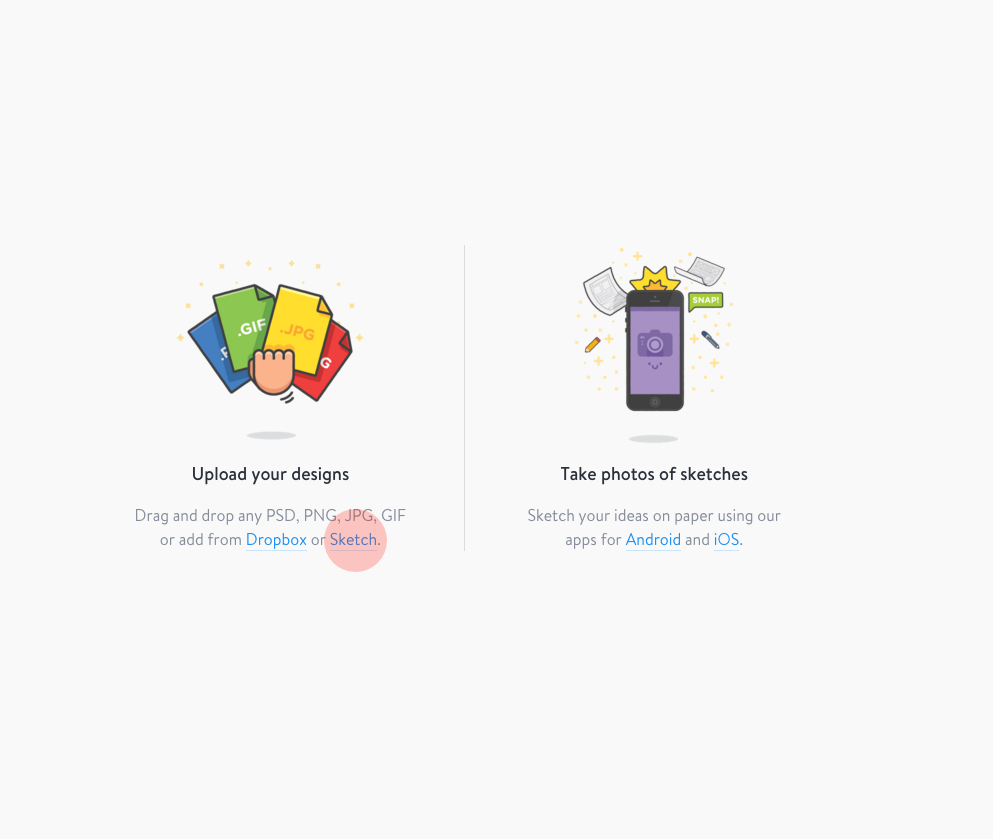
So go ahead, and click on the ‘Sketch’ link, and download the plugin from the next page.
Unzip it, and double-click the Sketch Plugin file to install.
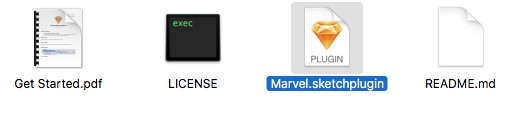
Good stuff. Now we can easily sync our Artboards from Sketch to the Marvel project we just created. Clean. Simple. No fuss!
Back in the Marvel App, click on Settings, to make sure we have iPhone 6 set for our prototype frame.

Have a play around with the various Prototype settings available. Like I mentioned earlier, I will only be skimming over the features in Marvel, so please feel free to tweak the settings at will. You can’t break anything!
Exporting our Artboards from Sketch
Time to jump back to Sketch for a little while, and go back to the Artboards we created in the previous part of this guide.
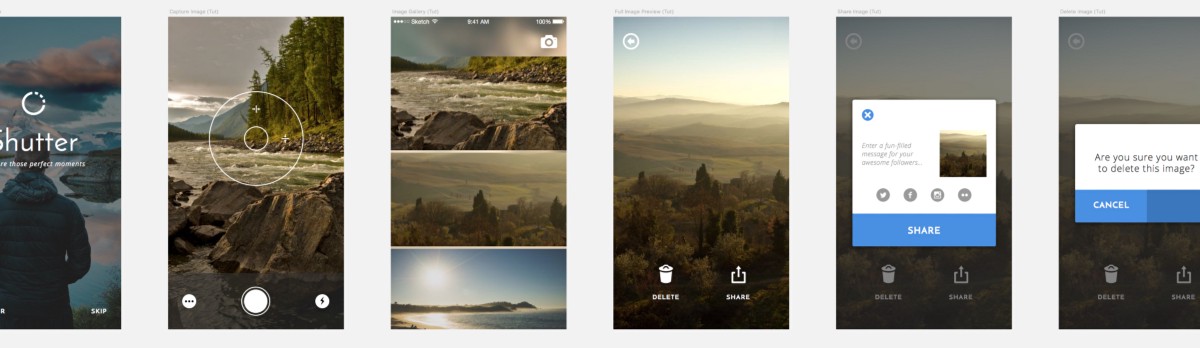
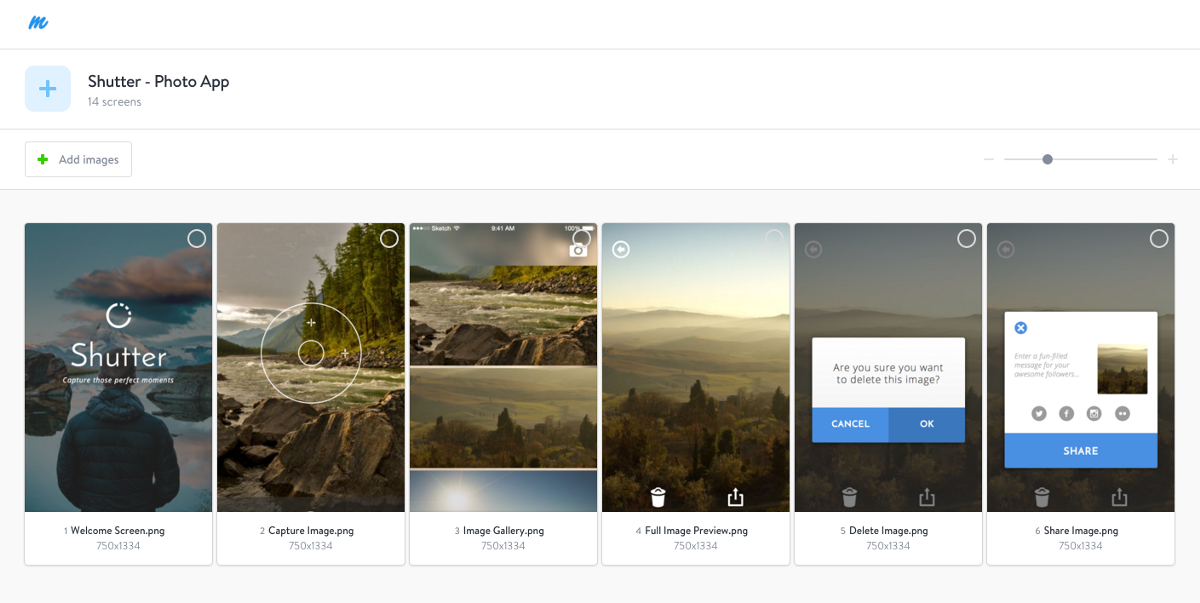
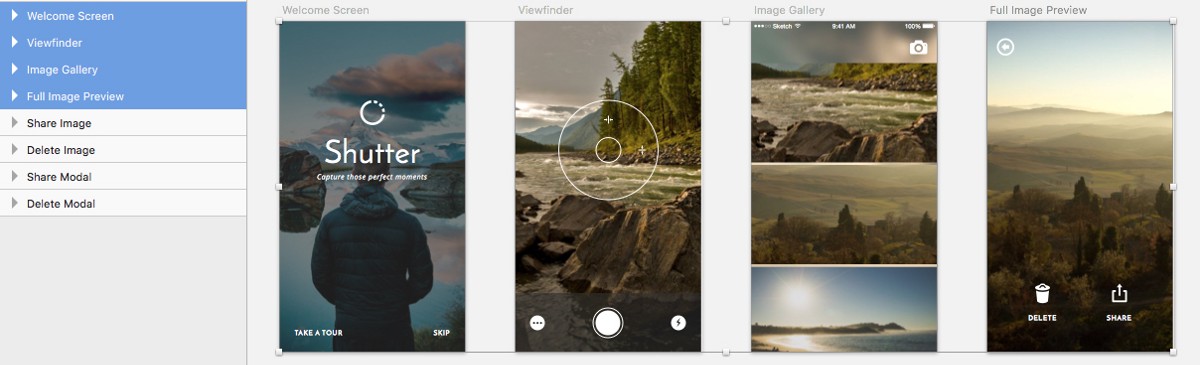
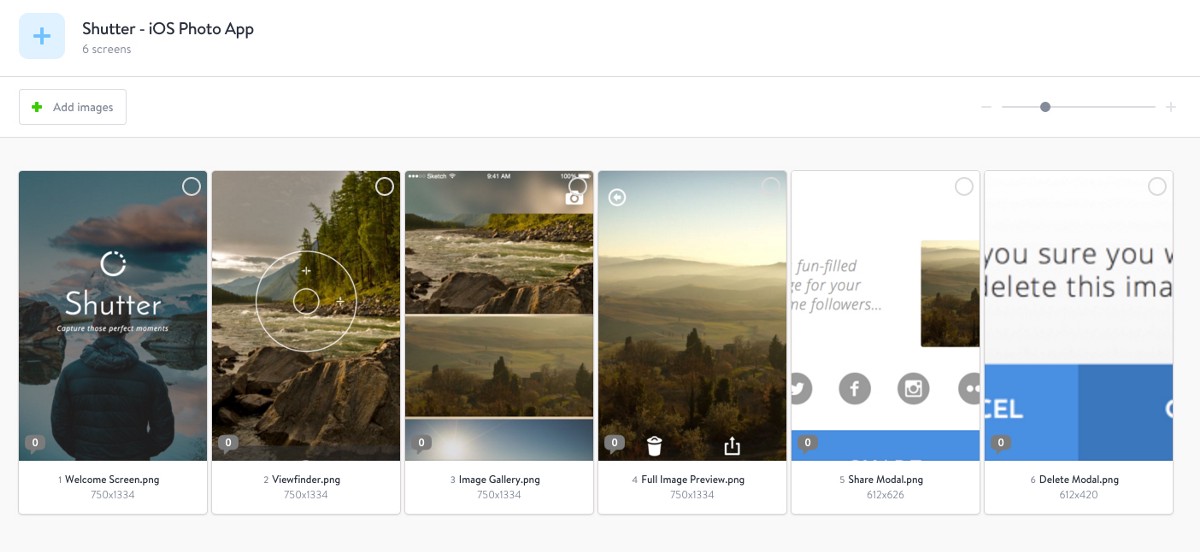
We created 6 screens for our fictional iOS Photo App ‘Shutter’. But in this part we are only going to be exported 4 ‘complete’ screens into our Marvel project…

And I’ll explain why…
Layers in Marvel App

Marvel has a great feature called Layers, which allows you to add elements over the top of your screens, such as sidebars, modals etc…
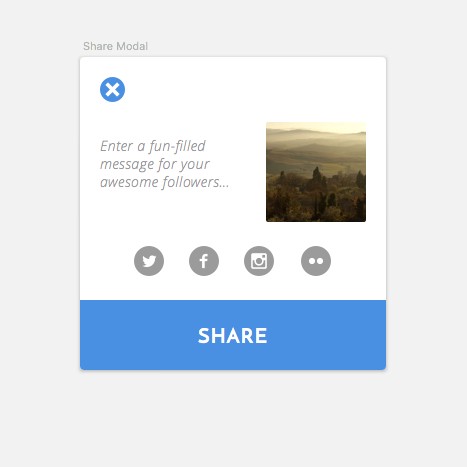
If you remember (with the last 2 screens we designed in Sketch) we added modals for the Share, and Delete image actions?
So we won’t need to export the complete screens for those (we can use the screen from the ‘Full Image Preview’), and then just export the Share, and Delete elements by themselves, and then layer them over the top of a screen in Marvel.
What? Huh? I’ll explain more as we move along. It’s a walk in the park I promise you!
Let’s concentrate on the Welcome, Viewfinder, Image/Photo Gallery, and Full Image Preview screens for this next part.
Select all 4 of those Artboards in the Layers List…
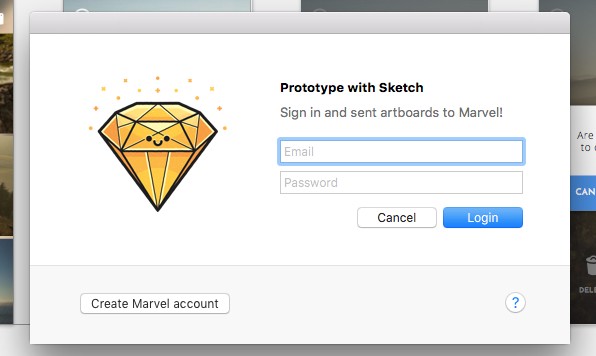
And then navigate to Plugins > Marvel > Login or Logout to Marvel…
From the popup window, enter the login details you created previously inside the Marvel Web App.
Once you’re logged in, and with those Artboards still selected, navigate to Plugins > Marvel > Send or Update Selected Artboards to Project… or use the shortcut Alt + Cmd + G
From the Export Settings popup, you will see your project name already selected. Choose 2x, as we’re creating designs for an iPhone 6 Retina screen. Then click Send or Update.
Jump back to the Marvel Web App, and you’ll see your screens appear (give them a little time to load in) inside of the project window.
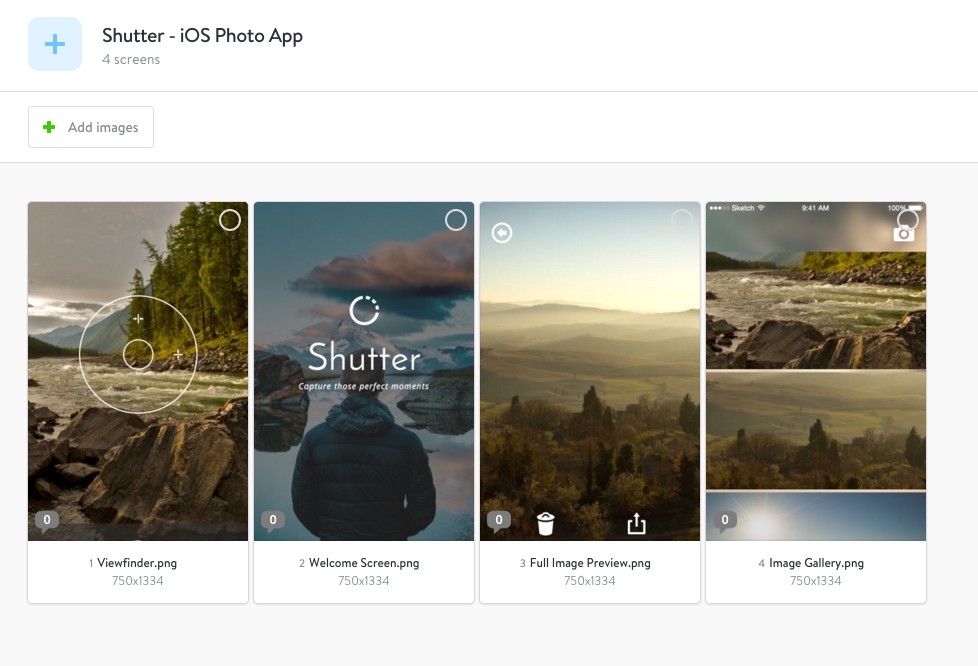
Click + Drag on the screens to re-arrange them correctly.
Adjusting our modal elements in Sketch
Now before we get into any of the juicy options available to us now, let’s hop on back to Sketch, and fix up those modal elements we created, first.
We currently have them sat atop the Artboards we created (this was for obvious reference purposes), but we only want to import those elements alone into Marvel.

So with the Share modal, select just that element, and then copy, and paste it onto the Canvas area.
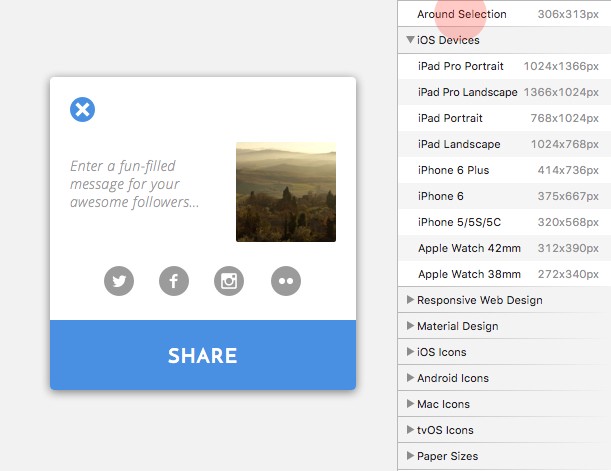
We of course want this element sitting inside of an Artboard, so insert a new Artboard (A), and then from the Inspector panel, choose Around Selection.
Follow the same process for the Delete Image modal.
Done! We now have 2 new Artboards for our modal elements.
Like we did previously, select both Artboards in the Layers List, and then use Plugins > Marvel > Send or Update Selected Artboards to Project, or Alt + Cmd + G

From the Export Settings pop up window, keep the same settings, and click on Send or update.
Our screens are ready for Prototyping!
Jump back to the Marvel Web App, where we now have all of our screens ready to rock!
Let’s get to the good stuff shall we?
From here you can easily begin editing these screens, and creating Hotspots for them, to create a functioning prototype.
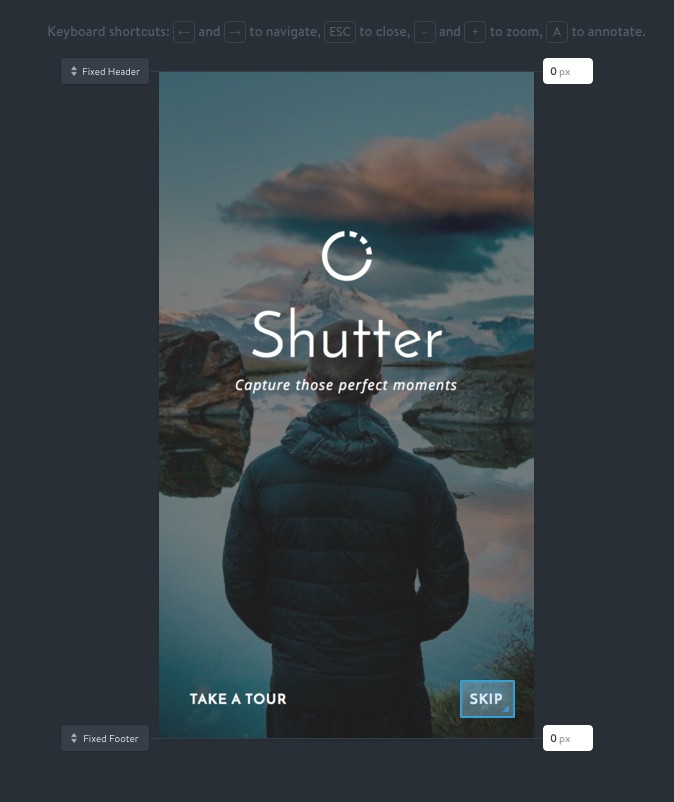
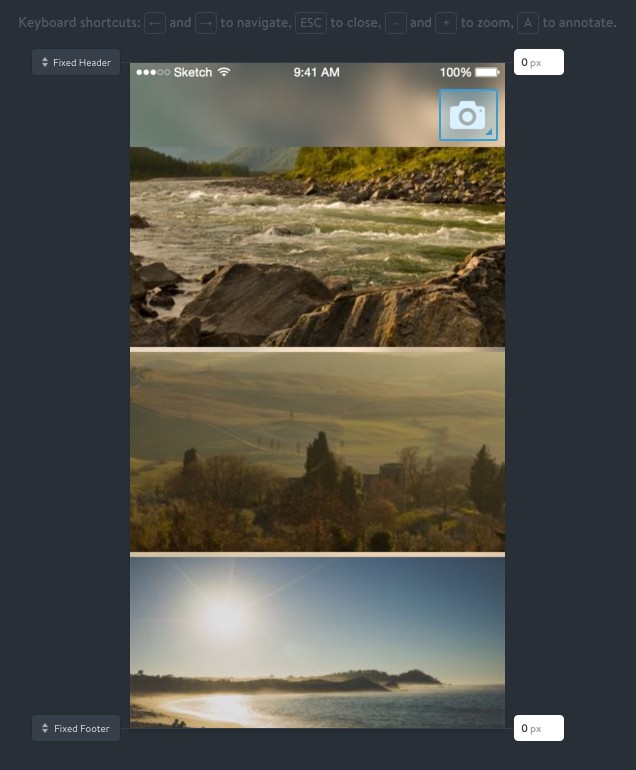
Hover over the first screen (Welcome), and click the Edit button, which will take us into edit mode, and where we can start bringing our screens to life. Woop! Woop!
Using the left, and right arrow keys on your keyboard you can quickly navigate through all the screens in your project…
…And zoom in, and out on each screen, using +, and –
You can also add Annotations to your screens, and Fixed Headers, and Footers if required.
For the purpose of this guide, we’re going to concentrate primarily on Hotspots, and Layers. But once you’ve finished up here, feel free to have a real good play around with the application.
Also, we won’t be applying Hotspots to every element on the design, I’ll focus on just a few of them to get you started, and then let you run with the rest. When you realise how much fun it is inside of Marvel, you’ll appreciate it!
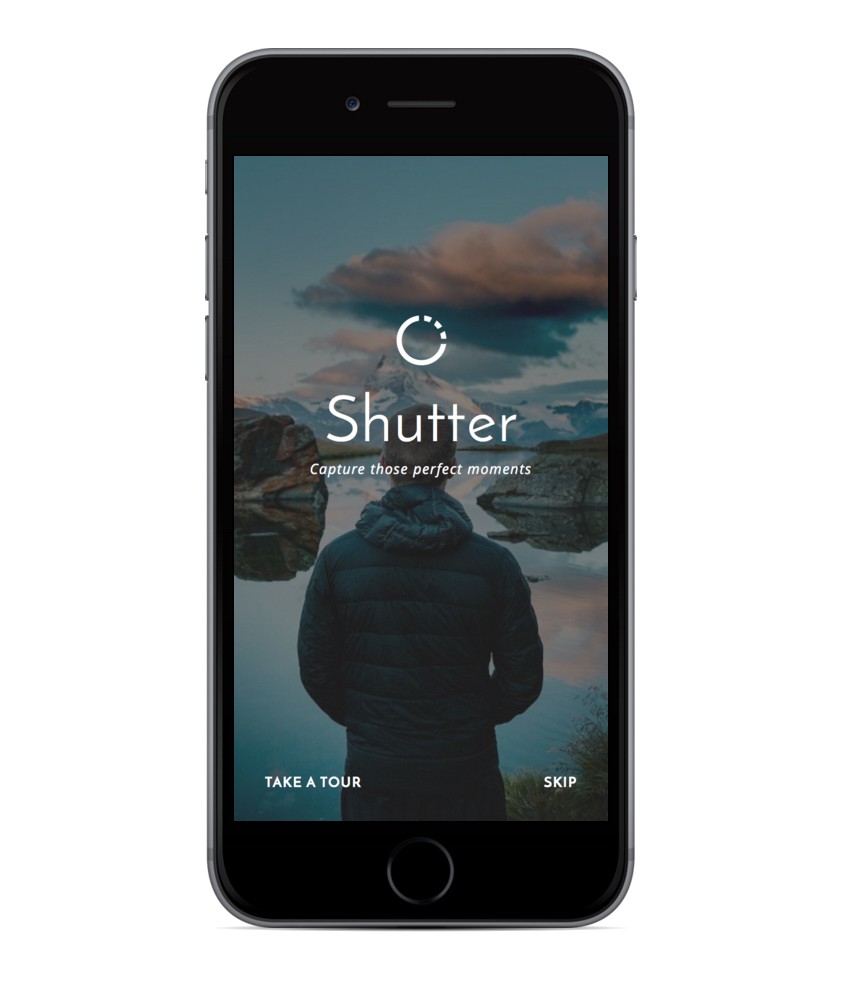
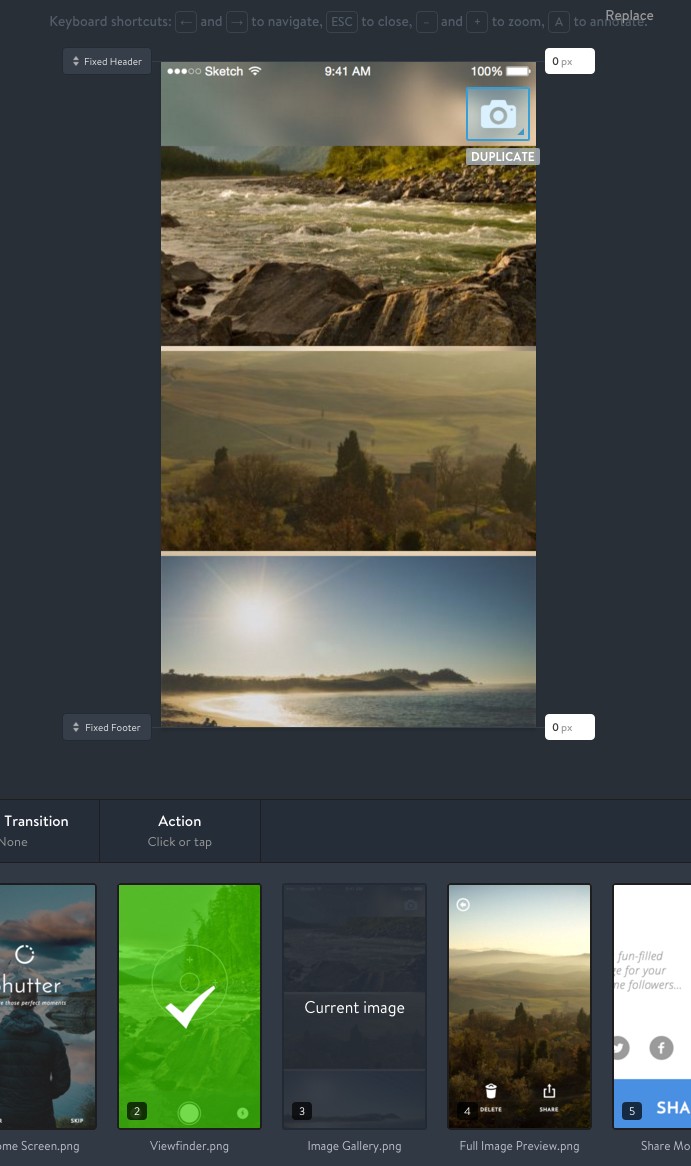
Welcome screen
Still inside of the Edit window, and with our Welcome screen visible, hover over the image, and you’ll see the Hotspot tool appear. Click + Drag to draw out a Hotspot to cover the ‘Skip’ button.
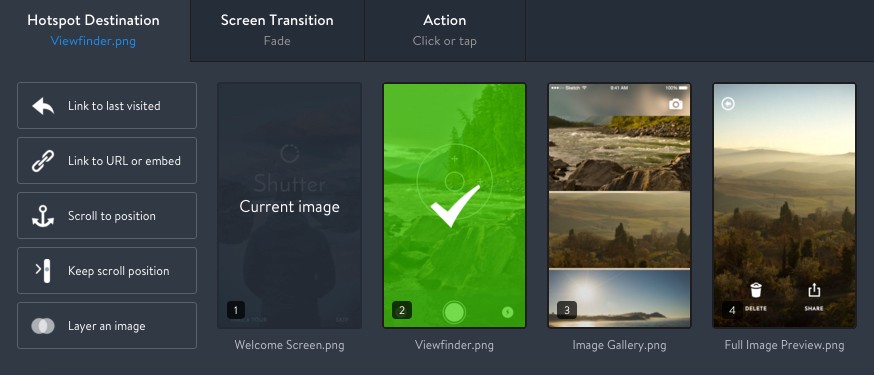
You will see the Options panel appear at the bottom of the window. This is where we can now weave our prototyping magic!
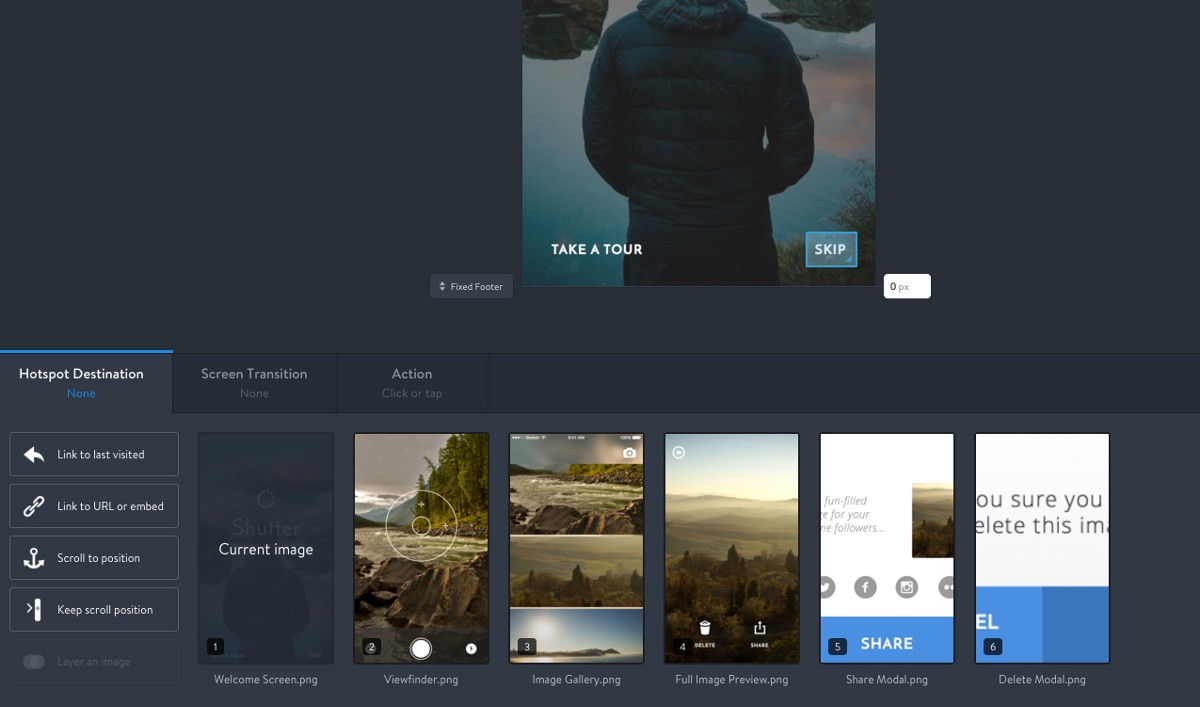
There are various options to choose from here, so let’s touch upon a few of them as we move through the rest of this guide.
We want our Welcome screen to skip the tour, and take us straight to the Viewfinder. So click on the Viewfinder screen in the panel to select it.
Now let’s add a nice Screen Transition between our screens. Click on the Screen Transition tab, and take your pick! You will see a nice animation appear when you hover over each of the transition options. Let’s go with Slide Up for ours.
Quick Tip: If you ever want to Preview what you’ve prototyped up until that point, click on the Preview link at the top right of Edit window.

This will open a new window, with your screens inside of a Prototype Frame, in our case the iPhone 6. Where you can test out your current actions, and animations…
Viewfinder Screen
Back in the Edit window, use your keyboard arrow keys to switch to the next screen (Viewfinder), and draw out a Hotspot covering the Shutter button.
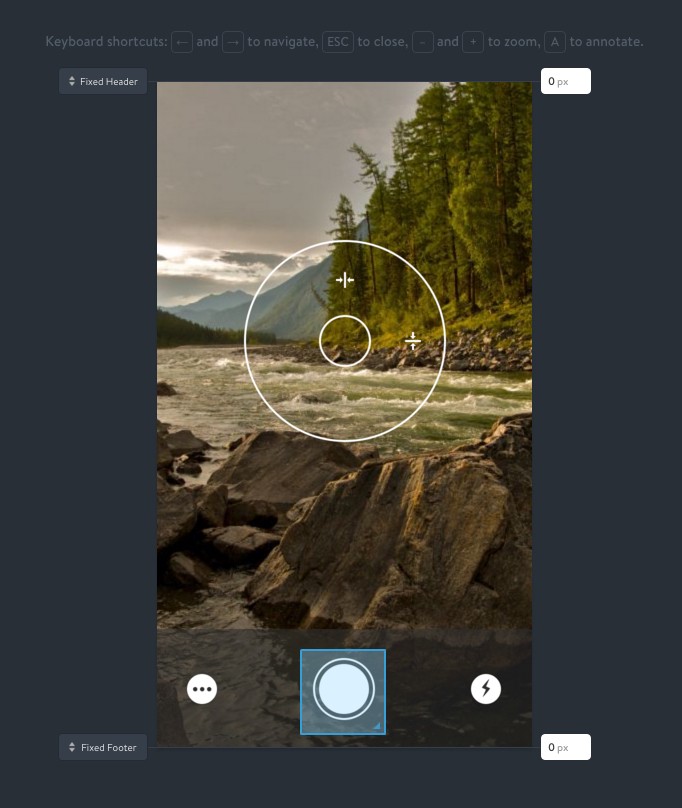
Then click on the Image Gallery thumbnail in the Options panel below, to link the Hotspot to that screen.
Add a Screen Transition between the screens. Click on the Screen Transition tab, and let’s go with Fade.
Like I mentioned a little earlier, we’re going to activate just a few Hotspots on the screen designs. Once you’re a Pro with Sketch, and Marvel (or maybe you secretly are?), you can come back and design any missing screens, or elements.
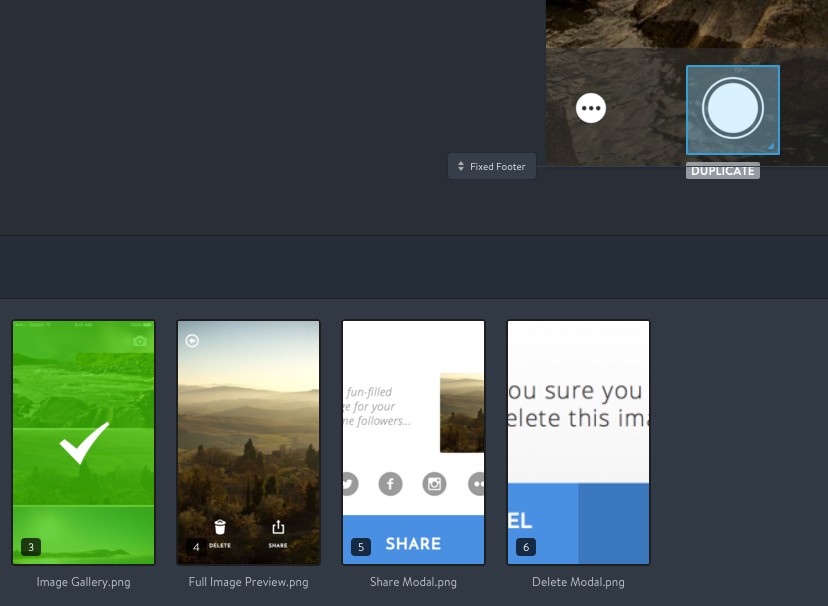
Image Gallery screen
Ok. Navigate to the Image Gallery screen, where we’ll be adding two Hotspots to this design.
Following the first example above, draw out a Hotspot to cover the Camera Icon, and then select the Viewfinder screen in the Options panel. This would just allow a user to navigate back to the Viewfinder, for them to keep snapping away!
name=”de37″ id=”de37″>Choose a Screen Transition between the screens. Let’s go with Slide Right.
Draw out a second Hotspot, covering your middle thumbnail image, and then select your Full Image Preview screen as the destination, so a user can click through to the full-size image.
Choose the Slide Up transition, and that’s our gallery fixed up.
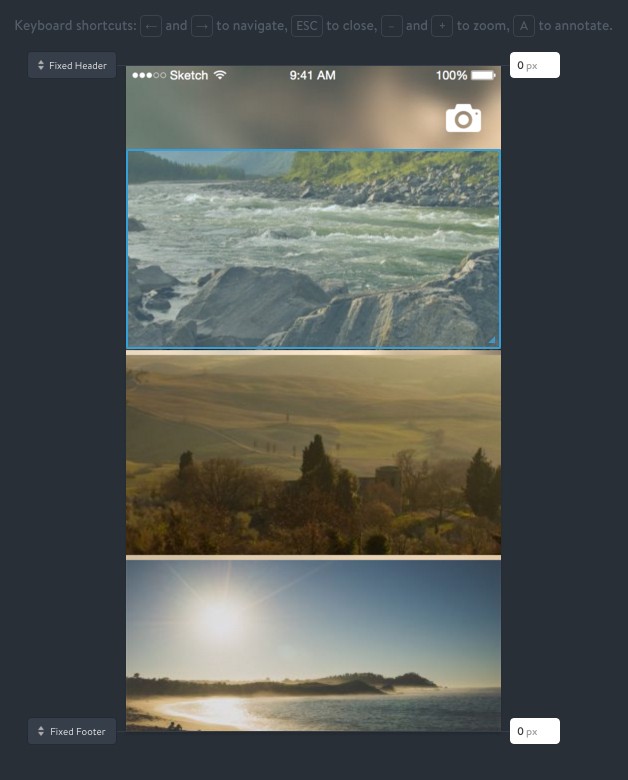
Full Image Preview Screen
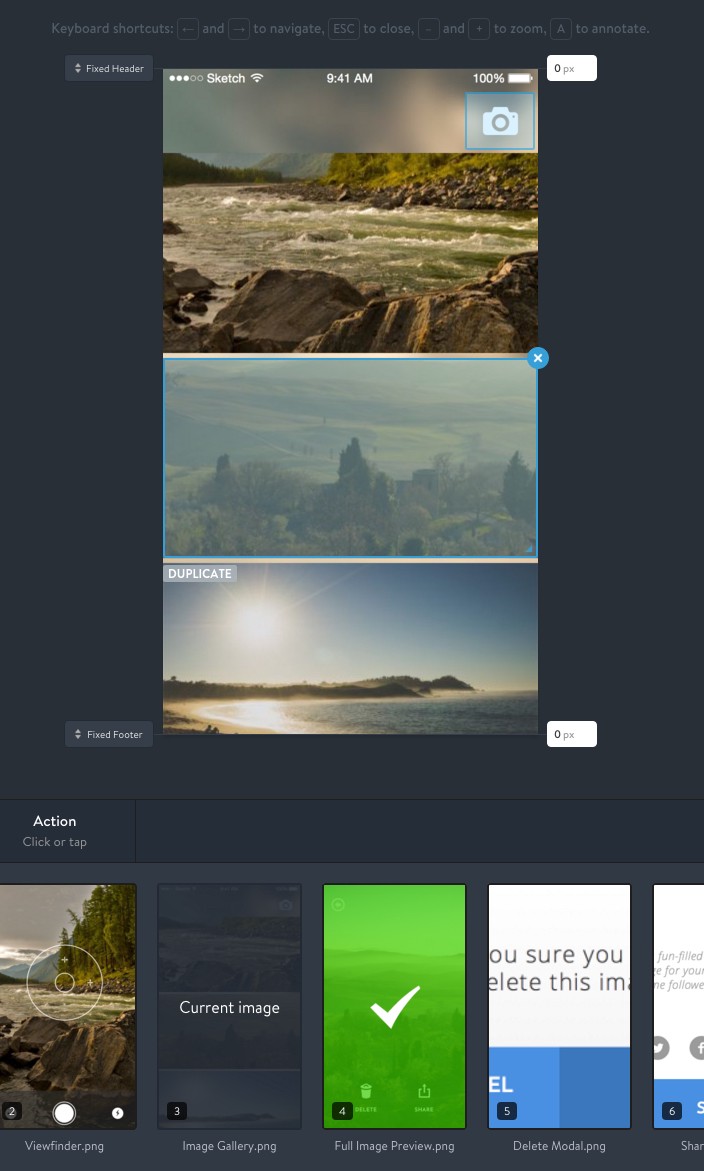
Now. Navigate to the Full Image Preview screen, where we will be popping in a few more Hotspots, putting those modal windows to good use, and showing you more cool features in the process.
Let’s rock!
Add in a Hotspot covering the back button at the top of the screen, and then (as currently there is only one way into this screen, via the Image Gallery) choose Link to last visited in the Hotspot Destination options.
You don’t need to add in a Screen Transition here. Marvel will just flip the animation that you used to enter this screen. For example, Slide Up will now be replaced with Slide Down when navigating back.
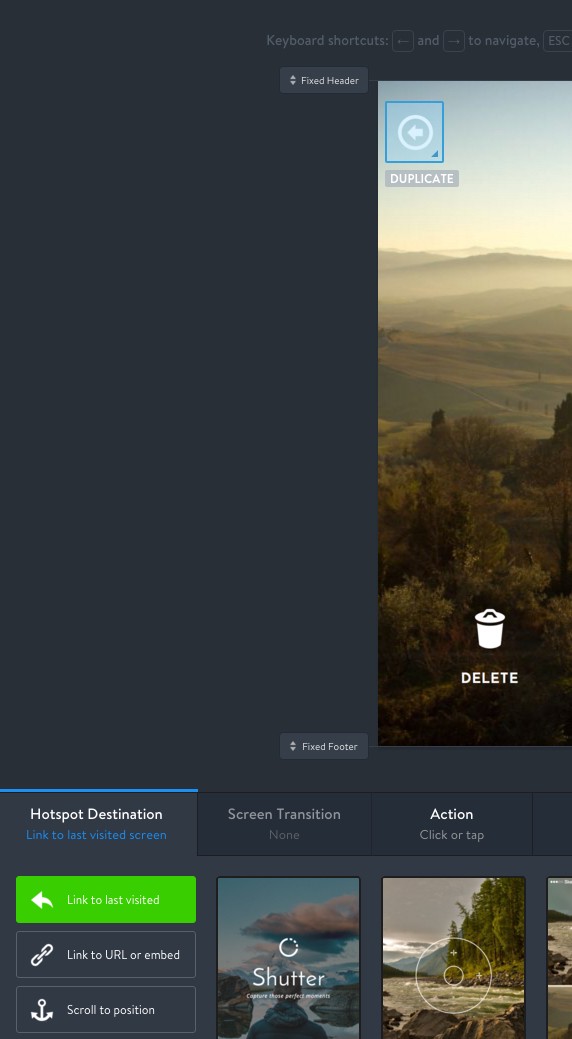
It’s now Layer time for those modals!
We’ll work on the Delete Image modal first.
Draw out a Hotspot to cover the Delete button at the bottom of the screen, and select the Delete Modal image as your Hotspot Destination.
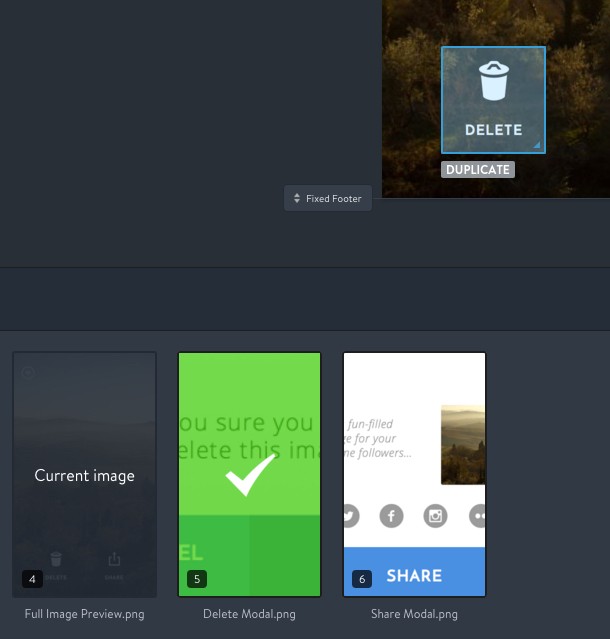
Then choose the Layer an image option at the left of the Options panel.
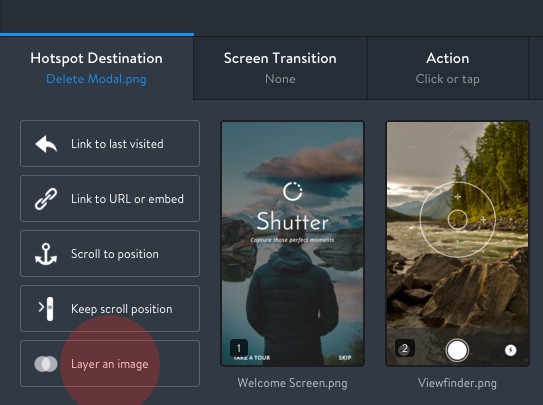
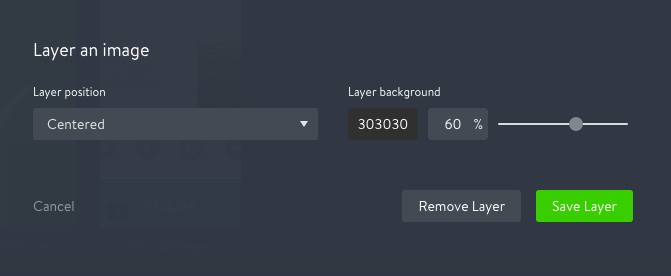
On the new Edit screen that appears, you have a couple of options to choose from, Layer position, and Layer background.

For the Layer position, we’ll choose Centered, and for the Layer background, let’s quickly jump back to our design in Sketch.
On your Delete Image Artboard, select the Overlay layer, and from the Fills option in the Inspector, you will see that we set it at #303030, at 60% opacity.
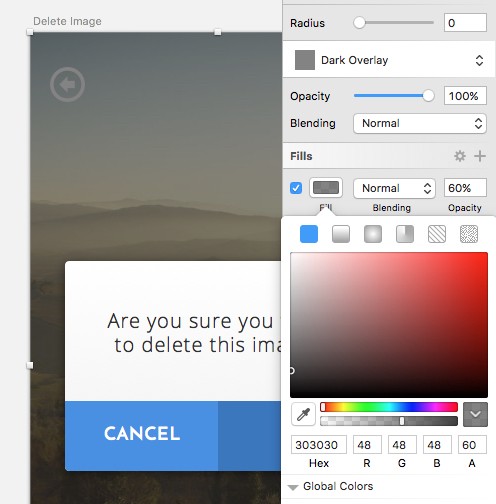
Back in Marvel, enter that Hex color value, and adjust the opacity slider to 60%. Then click Save Layer.
Let’s add in a quick Screen Transition. Slide Up would work I think.
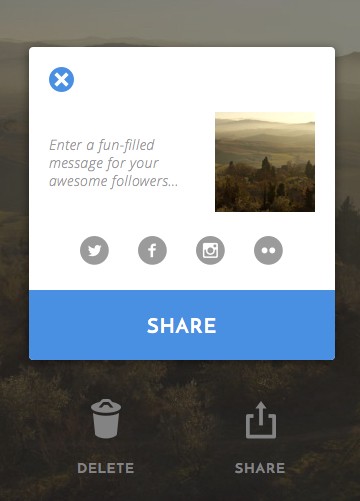
Delete Image modal
Now, navigate to the Delete Image modal screen inside the Editor, and draw a Hotspot around the Cancel button. Select the Full Image Preview screen as your Destination, and then use Slide Down as the animation.

Do you know what? I’ll let you run with this. Just remember the steps I showed you before for the Delete Image modal. The animations, the hotspots, the color for your overlay.
Aim for something like this…
Once you’re happy with everything, click on Done at the top right of the Editor window, which will take you back to the Project area.
From there, click on the Play button (at the top right of the screen) to take your prototype for a spin!
I’ve only touched on some of the elements that make Marvel such a great tool, and there’s a whole lot more to see inside of this application. So go on, get stuck in, and produce your next best prototype!