Many of the articles on this site are aimed at the digital space, such as design for the web, mobile and apps. And let’s face it, most design in general is done in the digital space, much of it never makes it on to paper. But what about when you do want to take your designs from the virtual to the physical world – from digital to print?
It can take a lot of tinkering to get your print designs to look right. Though your designs may look great on the screen, that might not be the case once it has been printed. A thorough proofing process is essential for getting a print piece that looks just as you expect.
Misprinted work is costly. If it’s a problem with your file, you will likely have to fork over more money to fix it. If you can’t afford reprints, you may have to keep the incorrect piece or wait until you can afford to reprint. If it’s a client project, the mistake could put a dent in their plans, your bank account, and your business’s reputation.
A thorough proofing process can head off most print design issues. Though nothing is foolproof, keep the following proofing tips in mind with your next print project:
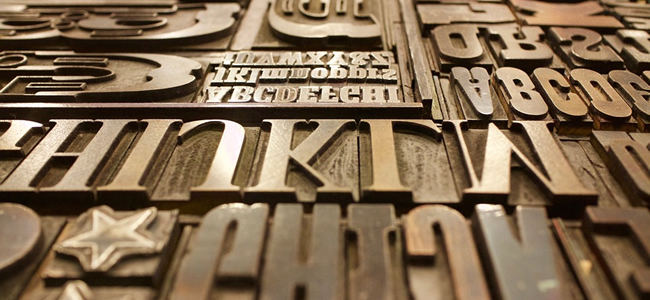
Words, Words, Words
Spellcheckers are unreliable. Read every word in the piece several times before sending it off for printing. Check your work, make corrections, recheck it, and then have someone else review it.
When working really closely on a project, your brain can fill in letters and words where they don’t exist. Having another pair of eyes check it over can eliminate these mistakes.
By Accident or by Design
During the process of creation, sometimes something important can end up being left out. Some of the most common mistakes include inconsistency of fonts, colors, shadows and other minute details. If you made a big change in multiple areas, such as font or color, evaluate each element carefully to ensure that the change was made every place it needed to be changed.
Additionally, if you’re creating something for a client, compare the design to the original specs to make sure you’ve included all of the necessary features.
True Colors Shining Through
Matching colors on the screen to colors on the paper can be difficult. From the design program, to the final digital file, to the print provider’s presses, each could affect the final results.
Though many graphic designers and photographers like to work in RGB, digital printing is often carried via a CMYK process. Some printers will print from your RGB file. Otherwise, you can convert the design to CMYK yourself, though it may take some knowledge and adjusting to get the colors to look right.
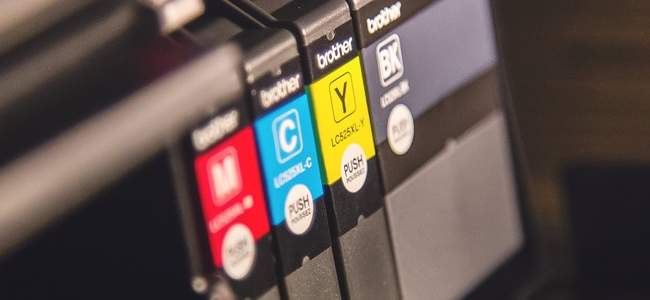
How your monitor is calibrated may also affect how you see the colors on the screen, versus how it will look in print. One way to get an idea is to print a test image and compare it to what’s on your screen. You may find you need to make adjustments to your design’s colors.
Resolution, Baby!
For small print jobs like business cards, brochures or booklets, it’s recommended that images be saved at 300 DPI. There’s more flexibility for image resolution with large format jobs, such as banners and signs. For photographic images on canvas, 100 DPI is considered plenty.
A good rule of thumb is to always save your design image files with the highest resolution possible. Though you can scale the image down if you must, it is impossible to add pixels after the fact.
Bleeds, Crops & Cuts – Oh My!
A bleed is part of the design that extends beyond the crop marks and is cut off in the finishing process. Crop marks indicate to the printer where to cut the design to get the size and shape you desire. Cutting tolerance is the small variations that occur when sheets are cut down to size by machine.
Setting up your design file to suit your printer’s bleed, crop mark, and cutting tolerance requirements is essential to getting the final printed design you expect.
Bleed and crop mark expectations vary from project to project and printer to printer, but many small format jobs require 1/8″ bleeds, while many larger format pieces may need a 1/4″ or larger bleed. A high quality printer has a cutting tolerance that measures no greater than 1/16″.
Pick the Perfect Paper
How the colors look for the final printed piece will depend on the substrate you choose. Coated paper has a smooth, satin-like finish that is somewhat resistant to dirt and moisture. A coating will restrict how the paper absorbs ink, which helps to maintain clarity and is desirable for printing photographs and other sharp images.
Uncoated paper is generally not as smooth, with a slightly rough feel. It has a tendency to be absorbent, like a sponge, which can cause ink to spread on the paper and result in less crisp lines. Work with your printer to find the right substrate if you’re not sure which to use.
Fit to Print
Use your home or office printer to print it out with standard paper, cut it down, and fold it, if needed. This will give you a glimpse at how your printed project will look, giving you the chance to refine your design if needed. Once you’ve sent your design file to the printer, you will also get a digital proof to approve.
Go ahead and print the digital proof, too. Although this in-house test print won’t necessarily show exactly what you can expect, it will give you a good idea. Evaluate your digital proof very carefully because this is often the last step before your order is printed.
Proof is in the Proof
Digital proofs are ideal due to the ability to create and send them quickly and cheaply, but there are times when it’s best to get a hard proof. If the substrate has distinctive properties, such as metallic paper or synthetic materials, or you’re trying a new printing technique such as white ink printing, request a hard proof to see the design on the medium.
You may also want a hard proof if you have precise brand colors to replicate. There is usually a cost to ordering a hard proof, but it’s a small price to pay to know what to expect when your order is delivered.
Concluding
After stepping through this checklist and ensuring that the interested parties are happy with how the proofs look, the final step is approving the project for printing. You’ve made the effort on your part to make sure it goes off without a hitch; the rest is up to your printer.
If you’ve done your homework to find a quality printer, you’ll know that when you receive the final product it will be exactly what you want. But that’s another checklist for another article on another day.
Top