AI in the WordPress Dashboard: Which Tasks Are Worth It?
5 Things To Know About Your Client’s WordPress Website
How Consistency Benefits Your WordPress Agency

Best WordPress Staging Site Tools & Resources in 2026
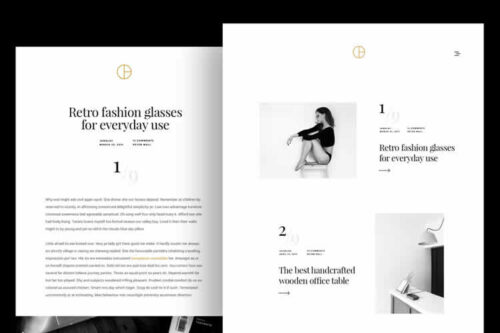
20+ Best Free Minimal Themes for WordPress in 2026
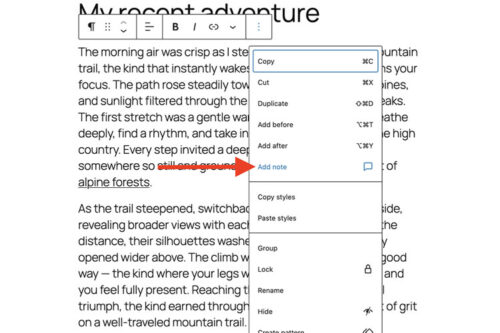
Quick Tip: How To Use WordPress Block Notes

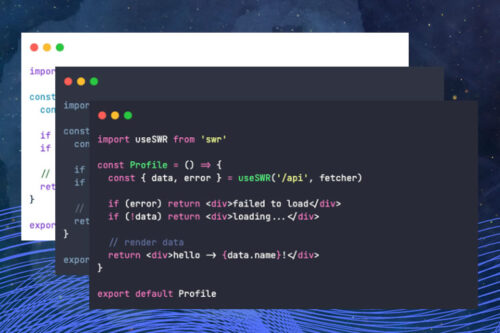
A New Choice: Use an Existing Plugin or Vibe Code Your Own?
6 Best Free Syntax Highlighter WordPress Plugins in 2026
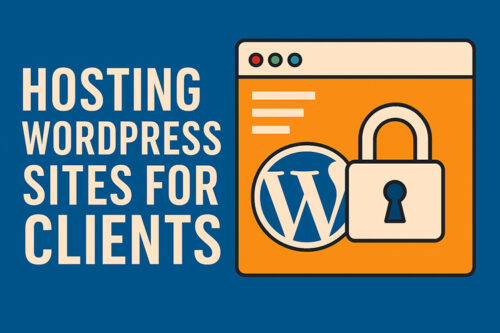
Tips for Hosting Your Client’s WordPress Website
How AI Can Help You Expand Your Agency’s Service Offerings