

10 Free WordPress Plugins for Adding jQuery Effects to Your Site

How Old-School Technologies Still Shape Web Development

The 50 Most Useful jQuery Plugins for Frontend Development

Why Some Outdated WordPress Plugins & Themes Are Facing Extinction

30 Simple Responsive Navigation Solutions & Tutorials
15 Form Validation jQuery Plugins & Libraries
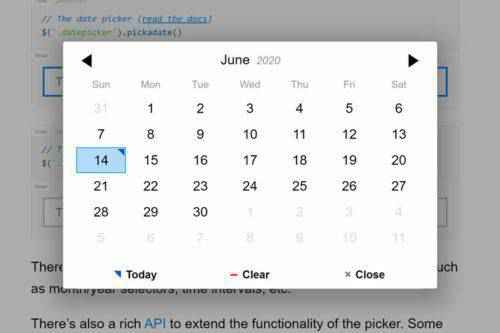
10 Free Open-Source Date Picker JavaScript Plugins
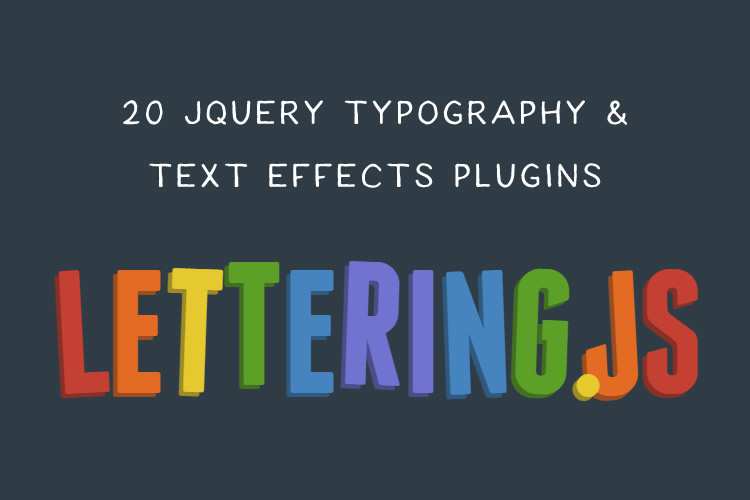
20 Free jQuery Typography & Text Effect Plugins
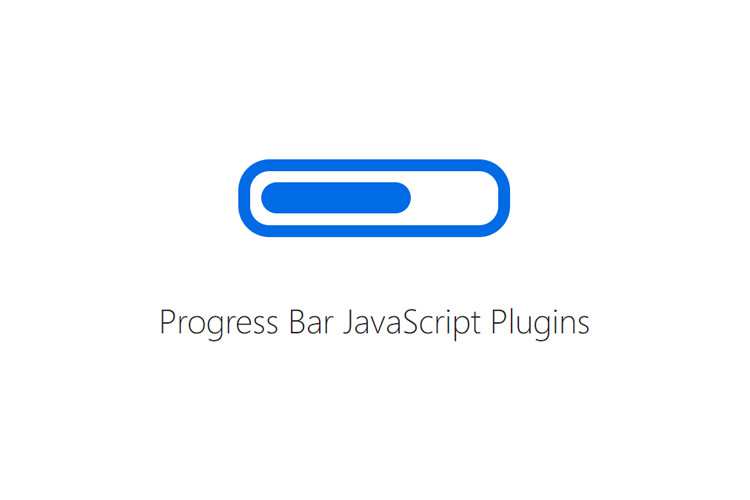
9 Free Progress Bar JavaScript Plugins For Web Designers
Despite Its Critics, jQuery Forges Ahead

The Best Open Source CSS & jQuery Image Captions
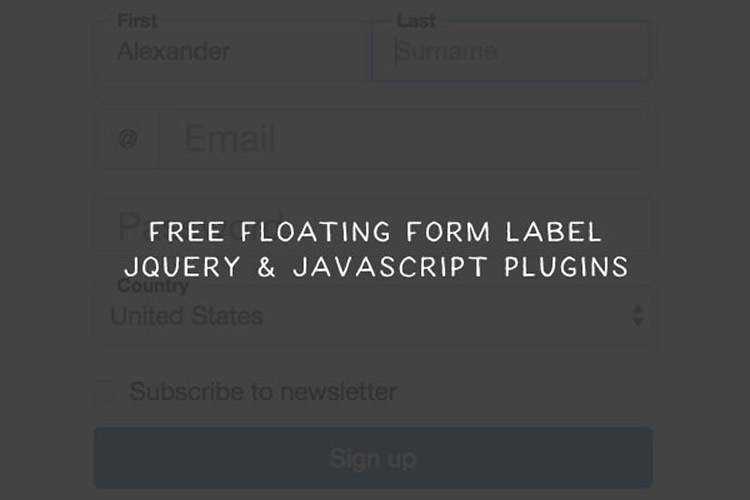
8 Free Floating Form Label jQuery & JavaScript Plugins

10 jQuery Plugins for Creating Dynamic Web Layouts
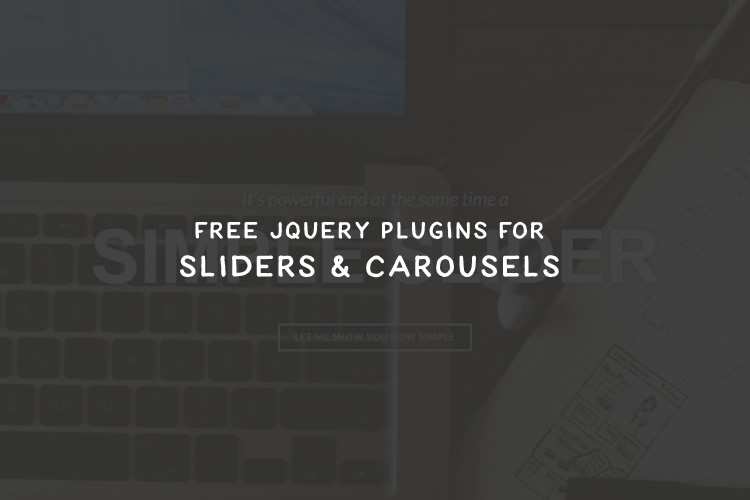
15 Free Slider & Carousel jQuery Plugins

18 Free jQuery Image Gallery & Lightbox Plugins
How to Resize Images in an Article or Post with jQuery