Your forms are one of the most important elements on your website, both for your users and the company. At their best, forms interact with visitors and are user-friendly. A good form encourages visitors to fill them out for feedback, subscriptions, bookings, and registration.
At their worst, forms are clunky, hard to navigate, and detract from the overall feel of your page.
Helpful tips for creating intuitive and efficient website forms, and how they will help to drive business value?
Taking Cues from Google
Our favorite search engine has seen a lot of algorithm updates over the past few years, all in the name of making it easier for users to find what they’re looking for with ease.
Most recently, Google has attempted to make searching more like speaking to a friend. Users now expect to get what they’re looking for by using everyday language. This has spilled over to web design, and visitors expect a human factor in coding and machine learning.
This led to a rise in natural language user interfaces and natural language forms that aim to get user information in a more human and engaging way. Companies seek to reflect a user’s mental processes rather than the traditional (and stiff) presentation of traditional forms.
Customizable templates and pre-built plugins make this easier than ever. While intuitive forms take much of the grunt work out of form design, best practices still dictate how, when, and where users see forms on your website.
The Best Practices for Form Use
Where and how do we present forms in a way that are most useful to a user (and for your company)? Follow these guidelines:
1. Ask for Required Information Only & Follow a Logical Format
The best forms are not demands for information, but a conversation, as natural language processing illustrates. As with any logical conversation, it should follow communication between your user and your app (or website). Achieve this by:
- Asking questions in sequence, from a user’s perspective. This includes presenting information in a meaningful and logical way (as we would in a conversation). If there is no meaningful order, order options alphabetically.
- When creating a form, ask why you’re asking each question and what you plan to do with the information. This helps eliminate unnecessary questions and increases the likelihood of retaining user attention. Reducing user effort is the most important step in increasing your completion rates.
2. Use a Single-Column Format
Your form should contain the required information only, which should make it short enough to use a single-column format.
Horizontally adjacent fields require a user to scan in a “Z” shape, which slows comprehension and creates user attention lags. The best forms have a clear path to completion – straight down the page.
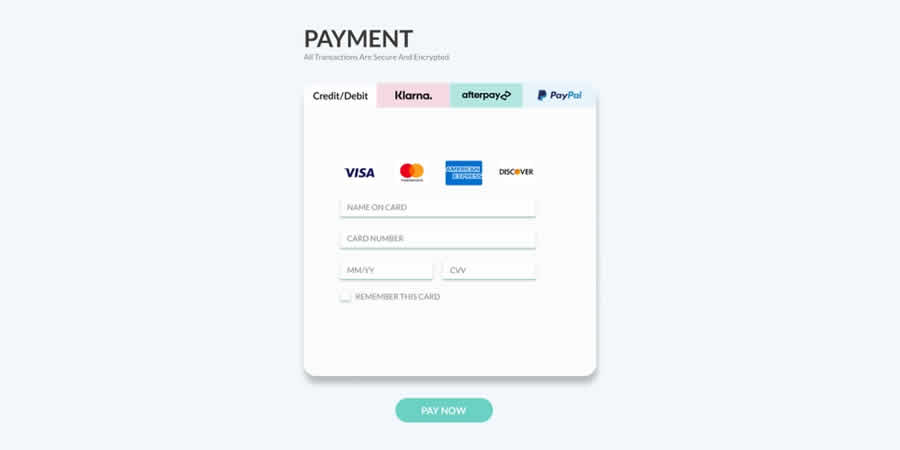
Credit Card Payment Form designed by Guadalupe Sahagun
3. Minimize Typing Effort
Make every effort to minimize the number of input fields and your user’s required typing effort, particularly on mobile.
Drop down menus, check boxes, and radio buttons not only minimize the amount of effort for your users, it also addresses the amount of errors inherent in typing, especially on mobile.
4. Field Size & Input Data
Take steps to ensure the field size is proportionate to the data you’re requesting. A recent study of eCommerce stores found that 79% of all users abandon their carts at checkout.
One of the reasons? Confusion about field size. The study showed that if a field was too long or too short for the amount of required information, users wondered if they were appropriately completing the form.
This was especially true for Card Verification Code fields. Be sure your information can fit comfortably within the given field – not too big, not too small.
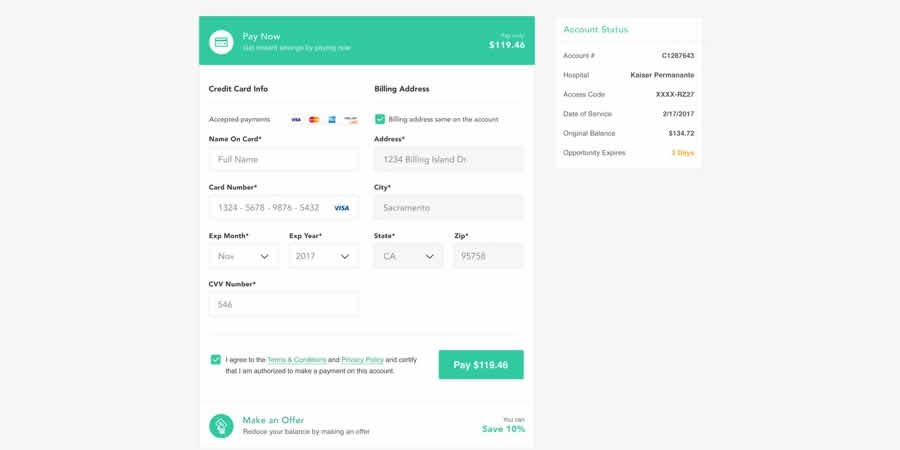
Payment Checkout Form designed by Black Flag Creative
5. Format with Flexibility
Some forms require that data with different correct presentations. For example, a phone number can be 123-456-7890, or (123) 456-7890. Make your formatting accept any presentation of a phone number.
The same goes for birthdays and booking dates (which you could present as a drop-down menu calendar). The goal is to provide as many flexible options as possible for your user’s convenience.
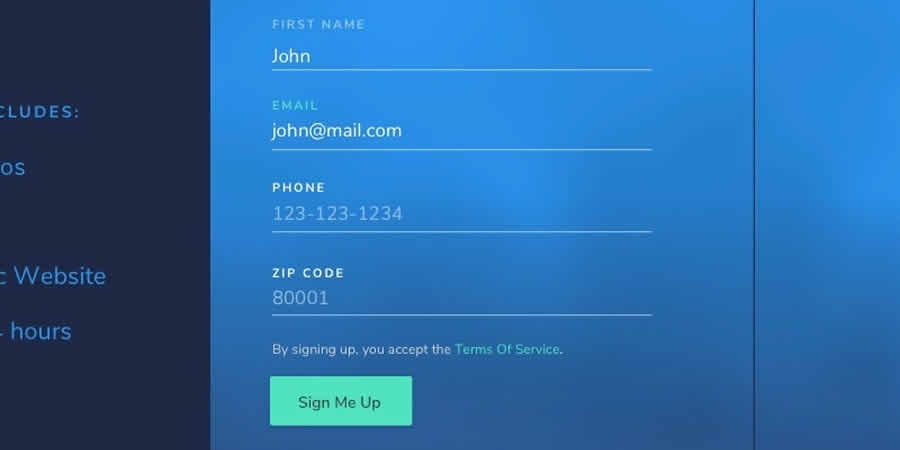
Form Field designed by Lacey Ankenman
6. Optional Versus Required Fields
Ideally, every data input on your form will be required (since you’re only asking for necessary information). If you must include an optional input (an example it might be a building unit or apartment number in an address form), be sure to label it as such.
Red asterisks next to required information are common practice. If you are including optional fields, limit them to one or two.
8. Get Rid of Reset Errors
There used to be a convention for adding reset buttons to forms, but we advise against this practice. Imagine the frustration of completing a form, only to accidently hit reset and lose all your work!
Would you fill out the form again or just close the window? We thought so. Avoid this scenario by leaving the reset button off your form – it does more harm than good.
9. Entice Your Users to Fill Out a Form
One of the keys to getting your users to fill out a form is to make them want to do it. Here are some examples of how your website can entice users to fill out your form:
- Provide a list of user benefits for form completion. This may be a list of benefits, features, or ways you help your customers. It may even be a promo code for a future purchase upon completion.
- Build your brand’s credibility by providing social proof, for example, client testimonials or showcases around your form. This shows that people rely on you to provide an essential product or service. This also helps create a human connection to the brand – include pictures to drive it home.
- Tell users in explicit terms that you value their privacy and they won’t be getting any spam.
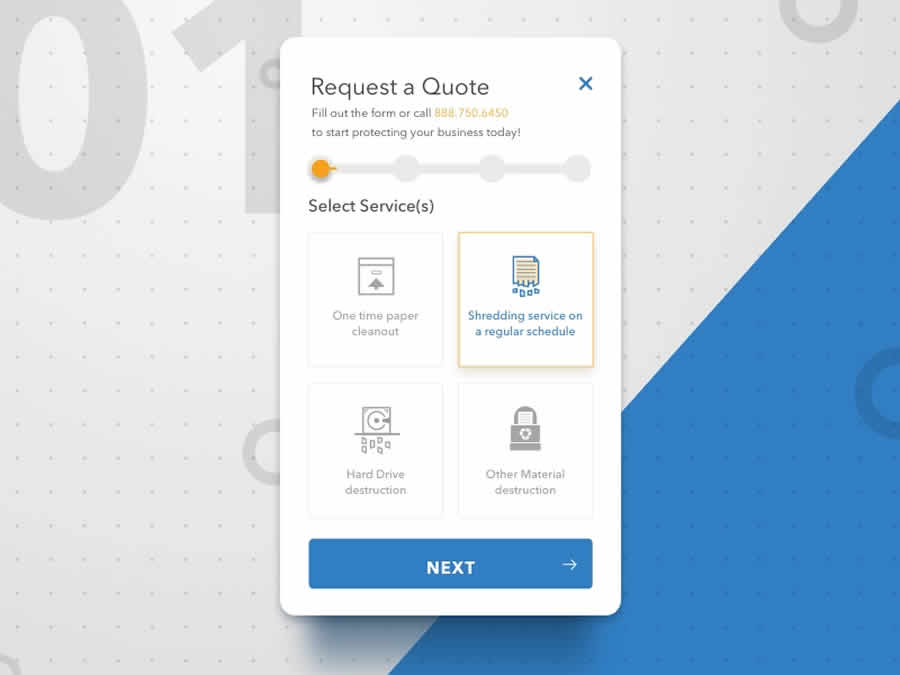
Multi Step Form designed by Michael But
10. Create a Compelling CTA
The importance of your call to action cannot be understated, as it’s the first step in the conversion process and will compel users to hit that sign-up button.
Let a user know what you do, why they need you, and what sets you apart – and do it quickly. It sounds like a tall order, but these tips will help:
- Put yourself into your customer’s shoes. Change one word in your CTA content: Take your “You” and turn it into “My.” A recent study found this simple switch increased conversion by 90 percent.
- Be bold. Use color, shapes, fonts, words, and placement that draw a user’s eye and capture their attention. Select a bold and contrasting color that clearly communicates an action to your visitor.
- Consider placing your CTA in the main navigation or footer, so it’s visible across your site.
An Intuitive Form Creates Business Value
HTML Forms that are easy to complete create increased time spent on your webpage and ultimately drive more customers to your product or service.
Draw your users to your form with a compelling CTA and make your form easy to navigate, with natural language. This will entice your users to complete your form, which will lead to more business in the future.
Related Topics
Top