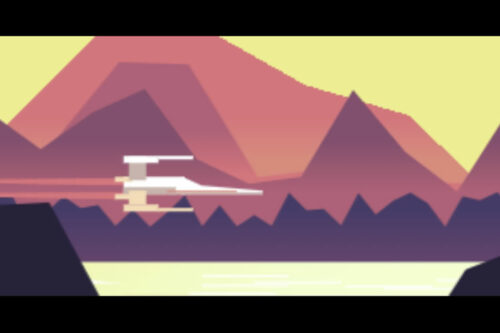
A Long Time Ago: Code Snippets Inspired by Star Wars
8 CSS & JavaScript Snippets for Creating Photo Galleries
8 CSS & JavaScript Snippets for Background Noise Effects
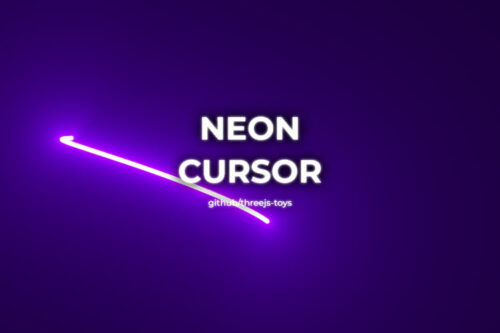
8 CSS & JavaScript Snippets for Unique Cursor Effects
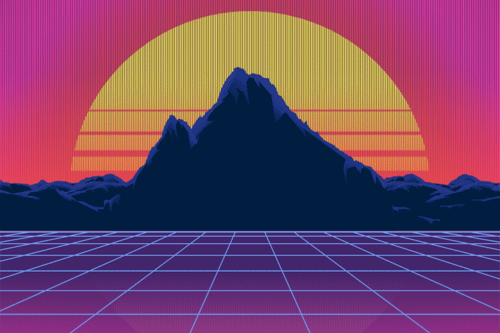
8 CSS & JavaScript Snippets That Celebrate Synthwave
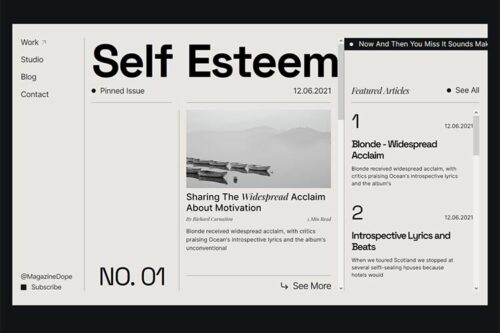
8 CSS & JavaScript Snippets for Creating Blog Layouts

8 CSS & JavaScript Snippets for Creating Complex Gradients
8 CSS & JavaScript Snippets for Creating Hamburger Menus
8 CSS & JavaScript Snippets for Custom Text Paths
8 Stunning CSS & JavaScript Animated Code Snippets for Enhancing Illustrations