Over the past decade, I’ve worked with WordPress on a (pretty much) daily basis. It’s my go-to solution for building websites for clients of all sizes.
And, as I’ve gained more experience with the highly popular CMS, I’ve advocated for building WordPress themes from scratch. These days, I use a fairly barebones starter theme based on Underscores. It’s set up just the way I like it and helps me get new projects off to a fast start.
But, just like everything else in the WordPress ecosystem, there are plenty of choices in how we do things. The approach that I prefer isn’t for every developer. Nor is it always the most realistic solution for certain clients (especially those on a tight budget).
Today, I’d like to share my experiences in building a website a different way: Using a WordPress page builder plugin and a companion “blank” starter theme. I’ll fill you in on the pros and cons of the process, along with some tips for getting the most out of it. Let’s get started!
Project Background
I was approached by a longtime client who wanted a redesign of their older HTML website. They wanted the benefits that go along with using WordPress, but didn’t have the budget for a full-on custom build.
The idea of purchasing an industry-specific commercial WordPress theme was mentioned. Now, there’s nothing inherently wrong with buying a theme and throwing some content into it. In many cases it will work just fine.
But it often seems that there are added costs associated with reworking the look and/or functionality to match a client’s specifications (or, worse yet, my expectations). Even then, there’s only so much you can do without completely destroying the theme, the client’s budget, or both.
With that in mind, I began looking into an alternative. I’d recently started playing around with Beaver Builder, a popular page builder plugin for WordPress (Full disclosure: they’re not paying me to say this, it just happened to be the tool I used. There are other, similar products on the market worth considering as well.)
They include a framework theme (and a related child theme) with some of their commercial packages, which allows you to essentially build an entire website – header, footer and content – using a combination of the WordPress Customizer and page builder.
How did it work? Read on to find out…
The Starting Point
The first steps of the process are pretty familiar to anyone who’s built a site with WordPress:
- Create a fresh install of WordPress;
- Install & activate the theme;
- Install & activate the page builder plugin;
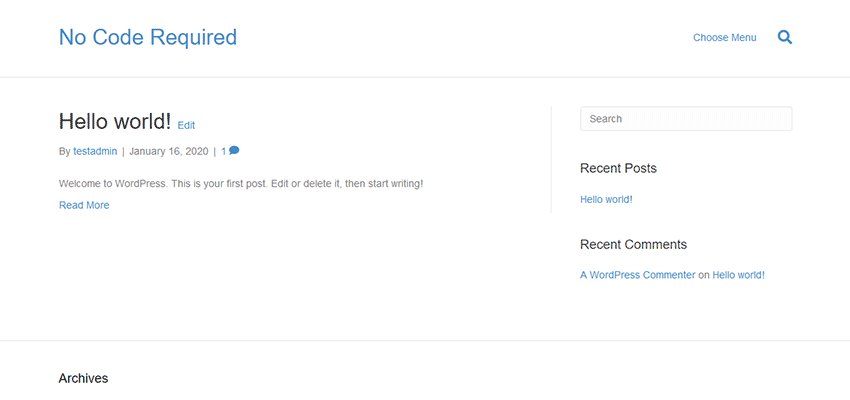
From there, you get an essentially blank slate. It’s actually not much different from what I see upon activating my own Underscores-based starter theme.
The advantage of this is that the theme doesn’t have many preconceived notions about what you want to build. This means that a designer could, in theory, create a design mockup and subsequently bring it to life. So long as they understand what the theme can and can’t do, that is.
But, as we’ll find out, there are some options for those who do want something a bit more readymade.
Using the WordPress Customizer
The WordPress Customizer is a built-in tool that allows you to tweak various theme-related settings and see the results in real time. It was meant to bring a universal UI to theme setup, as opposed to the bespoke options panels many themes have implemented.
Here, the Beaver Builder Theme taps into the customizer and provides plenty of options. Among the highlights:
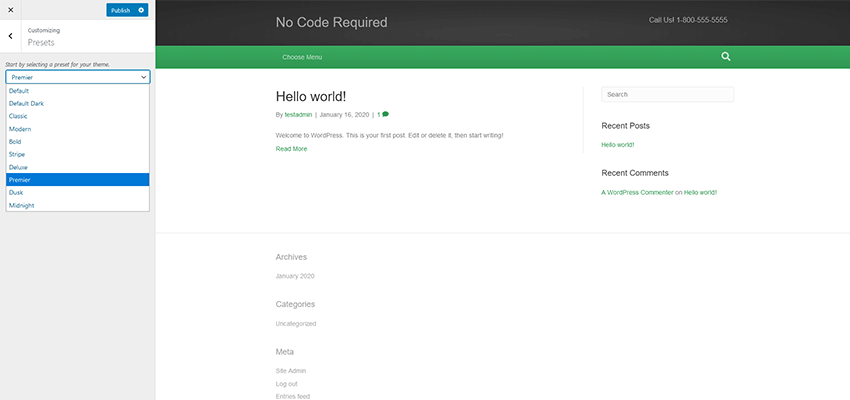
Presets
Choose from a selection of premade color schemes. These styles can be superseded via other Customizer options or CSS.
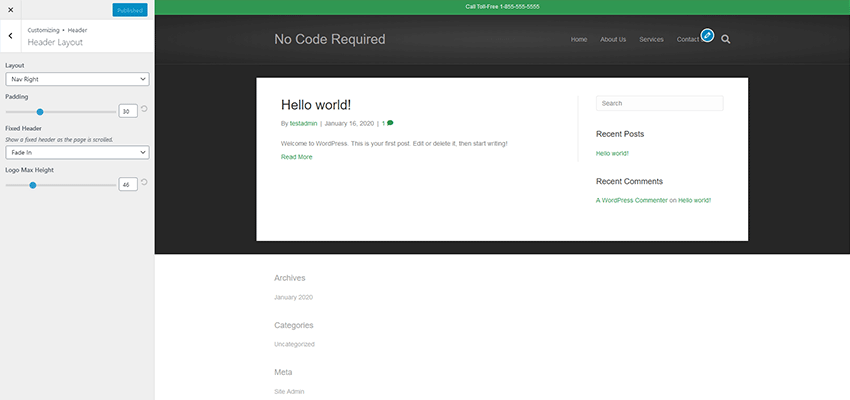
Header
There are a variety of settings here for layout, logo placement and navigation. The option for a “sticky” header is included, which is a nice touch. The layouts cover several common scenarios.
Content
Pick background colors and page layouts for your blog, individual post, post archive and WooCommerce templates.
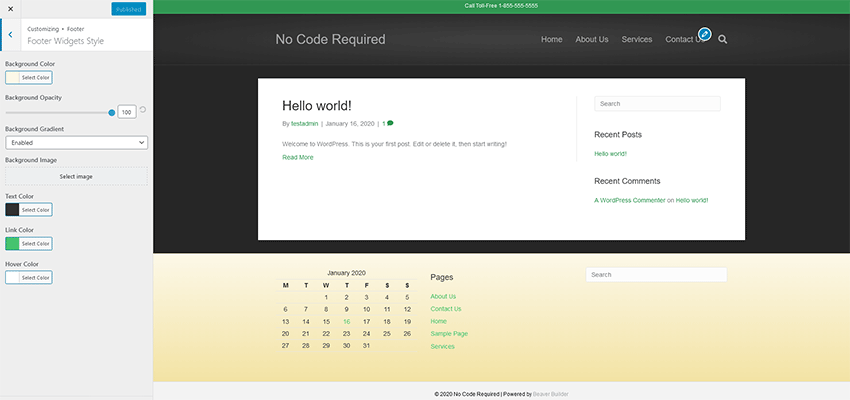
The site’s footer can be styled and widgets added to handle various types of content. By default, there are some limitations here. For example, I wanted to place built-in social media profile links up into the Footer Widget area (they are set to show up below the widgets) – which isn’t supported. Thankfully, a code snippet I found made it possible via a WordPress shortcode.
Code
If you want to inject specific CSS, JavaScript or other code into your site, you can do so here. This could be of use if you want to add Google Analytics or pixel tracking code.
The Verdict
In all, the Customizer had enough options to help me create the basic look and layout of my website. It’s not quite as robust as what I’m used to with a custom-built theme, but that’s to be expected. The whole point here is for rapid development and to avoid code.
The Beaver Builder Theme did just that, as I was able to get things set up the way I wanted within a half hour or so. Any shortcomings are kind of the price you pay with a lower budget project.
Building Pages
I won’t spend a ton of time going into detail here – for two reasons. First, my needs for the site’s various pages weren’t very complicated. Second, the page builder itself is sort of secondary to the theme. But there are still some items worth mentioning.
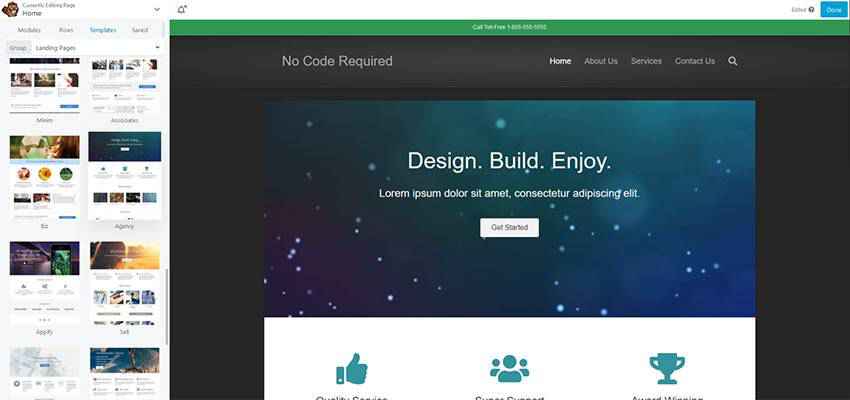
The home page was built rather quickly – and not from scratch. My client liked one of Beaver Builder’s prebuilt page templates. Setting it up was just a matter of importing the template and then hacking away to customize the things we wanted to keep and remove the things we didn’t. In addition, there were a few extra modules to add in via page builder. Features such as post carousels and on-scroll animation added some personality.
Secondary pages were extremely simple. I created a page title module that used a photo background and saved it for repeated use across other pages. From there, it was just a matter of adding the rest of the content and formatting it nicely.
The one sticking point I had was integrating Gravity Forms. Since the page builder uses neither the WordPress Gutenberg block editor nor the Classic Editor (both of which the popular form plugin supports), I had to manually place a shortcode into a Text Editor module. This wasn’t a huge problem, but might be tough for a client who is unfamiliar with the process.
The Verdict
Page building went pretty much as expected. Ease of use is the selling point of these plugins and this one fit the bill. Various modules were easy to drag-and-drop onto the page, and multicolumn layouts were simple to configure. Everything was responsive and could also be customized specifically based on screen size.
The number of modules included were solid and covered virtually everything the project required. If some more fancy features were needed, there are a number of available third-party add-on packs that can help.
Overall Impressions
In all, I have to say that this was a better experience than those I’ve typically had with readymade themes. The fact that I could start from something basic and build up to suit the project’s needs was more in line with my preferred workflow.
Truth be told, I did have to implement a few extra bits of code to achieve everything I wanted. The aforementioned shortcode for social media profile links and a bit of extra JavaScript helped me round out the site. Both were queued up via the child theme’s functions.php file, allowing them to avoid being overwritten during any future theme updates.
I found this to be a viable option for simple projects. There are some scenarios, like the use of custom fields or conditional content, where it may still make more sense to go with a full-on custom theme. But those types of features are often for bigger budgets anyway.
So, if you’re a developer who wants to quickly develop a thrifty new website – but without the trappings of a third-party theme, this may be the way to go. Just recognize that you’ll have to live within the parameters of what’s there. Otherwise, it will be time to fire up that code editor.
* Note: The images in this post are for illustrative purposes only – they don’t reflect the actual project described.
Related Topics
Top