Emergency situations can affect any organization. Whether it’s a weather-related closing, a sudden change in business hours or a leaky pipe in the basement – things happen. And one of the best ways to communicate these types of issues is by posting it on your website.
This information is vital and needs to stand out from the rest of the site’s content. In addition, it should require as little effort as possible to add. This is especially the case if your client is the one updating the website. Ideally, they shouldn’t be making design decisions while trying to share an important message. Plus, time is of the essence.
Today, we’ll introduce you a handy solution that uses WordPress custom fields. It will enable you to:
- Create a custom emergency message;
- Select a Font Awesome icon to display alongside of it;
- Turn the message on or off with a single click;
- Add an attention-getting design to your WordPress theme;
Ready to start? Let’s get to it!
What You’ll Need
This one is fairly simple to put together. However, you will need a few ingredients:
- A WordPress website;
- Advanced Custom Fields (free version);
- Advanced Custom Fields: Font Awesome Field (free);
The two free plugins will need to be installed and activated. Beyond that, you’ll also need access to your WordPress theme.
If you’re using one of the default themes that come with WordPress or a commercial theme, be sure to set up a child theme. This will prevent any changes you make from being overwritten by an update later on.
Adding and Configuring Custom Fields
The first task is creating a custom field group within WordPress. To start, head on over to Custom Fields > Add New within the WordPress Dashboard.
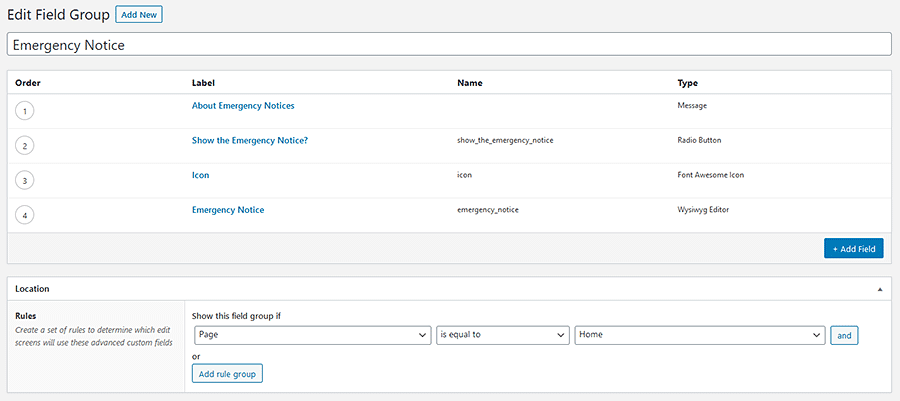
You can create any fields you’d like to use. Here’s what our example looks like:
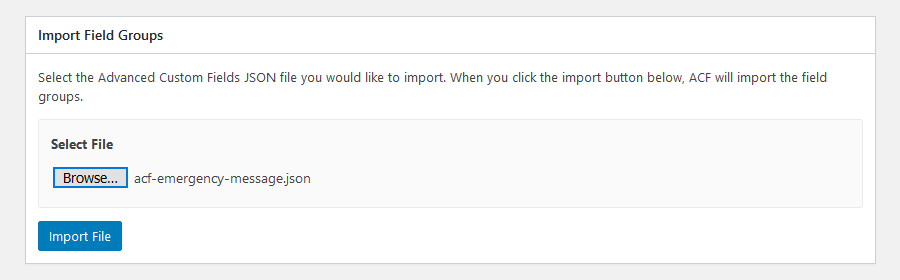
Alternatively, you can replicate this example exactly by grabbing the following JSON file:
Once you’ve downloaded the file, head on over to Custom Fields > Tools. You can then import the custom field group to your website.
After the import, go to Custom Fields > Field Groups. Click on the “Emergency Notices” entry to open up the edit screen.
Note that you may want to tweak a few settings here. Particularly focus on the Location rules for the field group. Make sure the fields are set to show up on the page or pages you want. In our case, we’re displaying the fields on the “Home” page.

Creating the Emergency Message
Now it’s time to navigate over to the “Home” page, where the emergency message fields are assigned.
How the fields look within the content editor will vary. If you’re using the Gutenberg block editor, the field set will be tucked away at the bottom of the editor – and below any existing content.
If you are using the Classic Editor, the fields in the JSON file we provided are set to appear just below the page title and above any existing content.
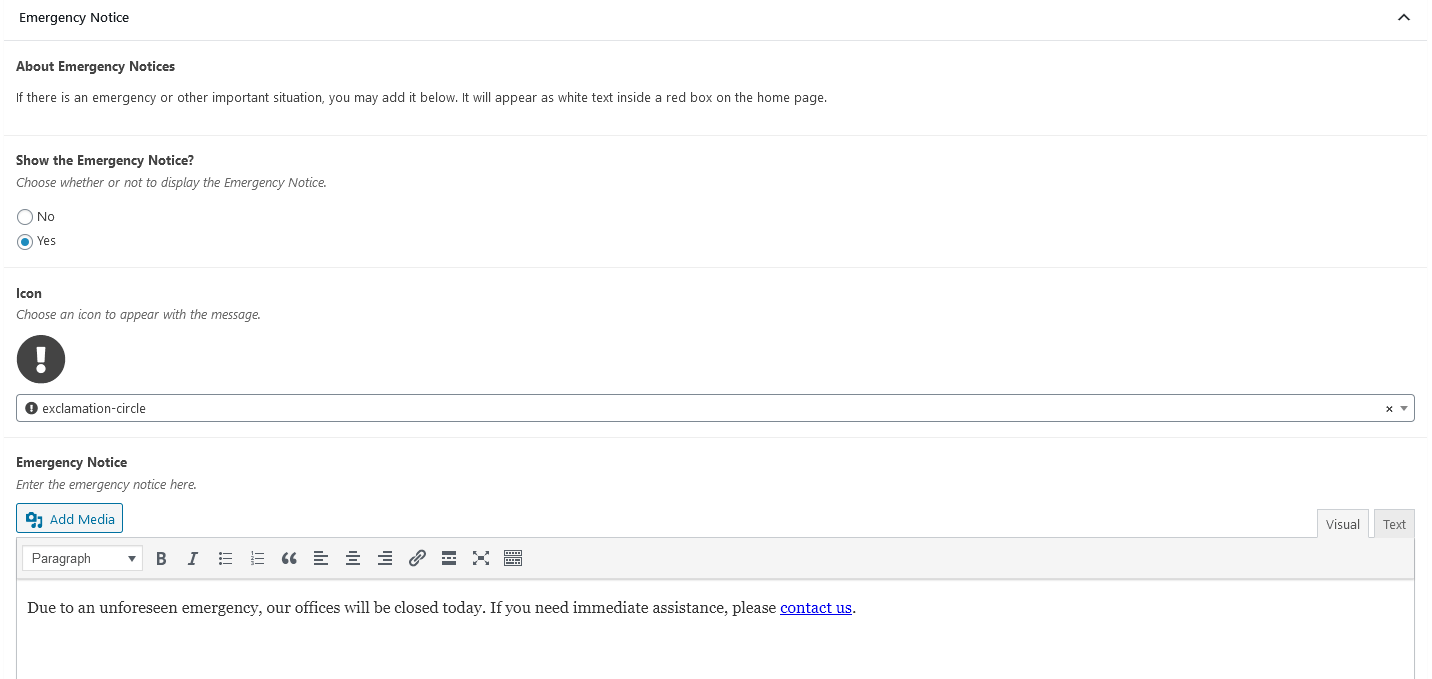
Either way, adding the message to our page is fairly simple. For the “Show the Emergency Notice” field, click on “Yes”. Then, select an icon (view a list of available Font Awesome icons). From there, enter your message in the WYSIWYG field.
Save the page and you’re done! Well, almost…
Adding and Styling Your Message on the Front End
Finally, let’s place our emergency message within our WordPress theme and add some CSS styling.
In this example, we’re going to place the message above the site’s header. Here, it will span the width of the screen and display at the very top of the page. Of course, you can feel free to add this snippet to whichever area you think is best.
As for styling, you have a lot of flexibility. Here, we’ll utilize a red background with large, white text. Our Font Awesome icon will stand out with a yellow color.
The final result will be hard to miss!

Keep Visitors Informed
An organization’s website is one of the first places people check for vital information. While it’s also important to post these types of messages on social media, it can easily get lost in a crowd of content.
This solution offers a simple way to add an emergency message anytime. When no longer needed, it can be removed with just a few clicks.
There are also ways to enhance the feature by adding other relevant custom fields. ACF has plenty of built-in options, and there are a number of add-on plugins that can do even more.
Just about every website can benefit from this type of feature. Set it up now so that you won’t have to scramble to do so later.
Related Topics
Top