20+ Best Logo Templates for Photographers
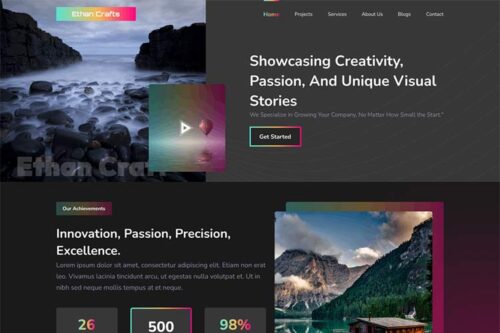
10+ Best Free WordPress Themes for Photographers

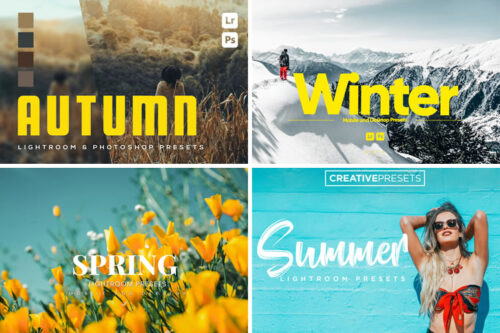
20+ Best Free Lightroom Presets for Urban & Street Photography
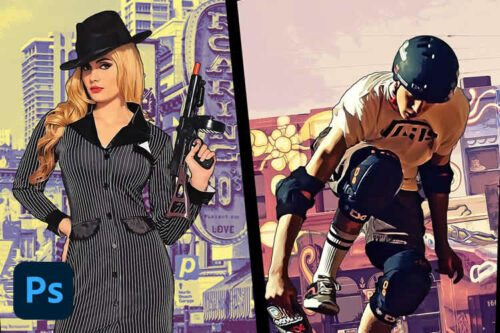
10+ Best Photoshop Actions for Comic & Cartoon Photo Effects

12 Best Photoshop Actions for Creating 3D Effects
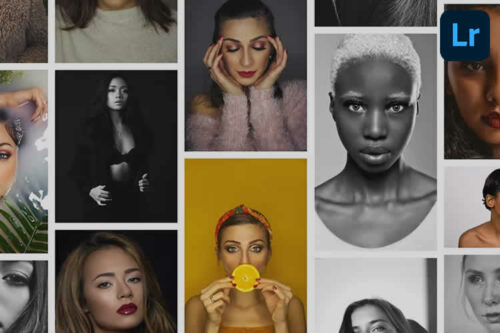
30+ Best Lightroom Presets for Stunning Portraits
500+ Free Overlays for Photographers & Video Creators
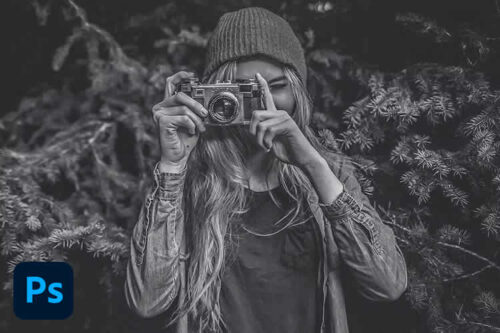
12 Best Photoshop Actions for Black & White Photo Effects
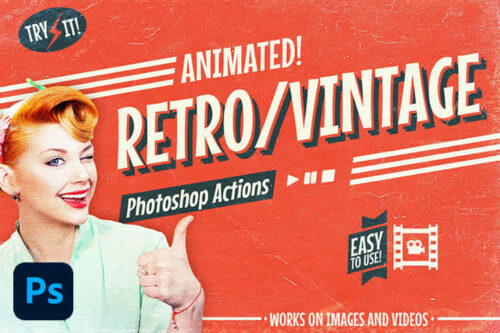
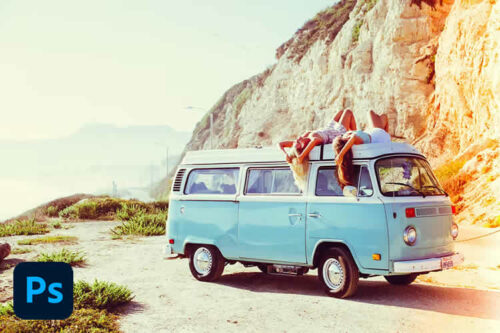
20+ Best Photoshop Actions for Retro & Vintage Photo Effects
15+ Best Light Leak Photo Effect Photoshop Action Sets
